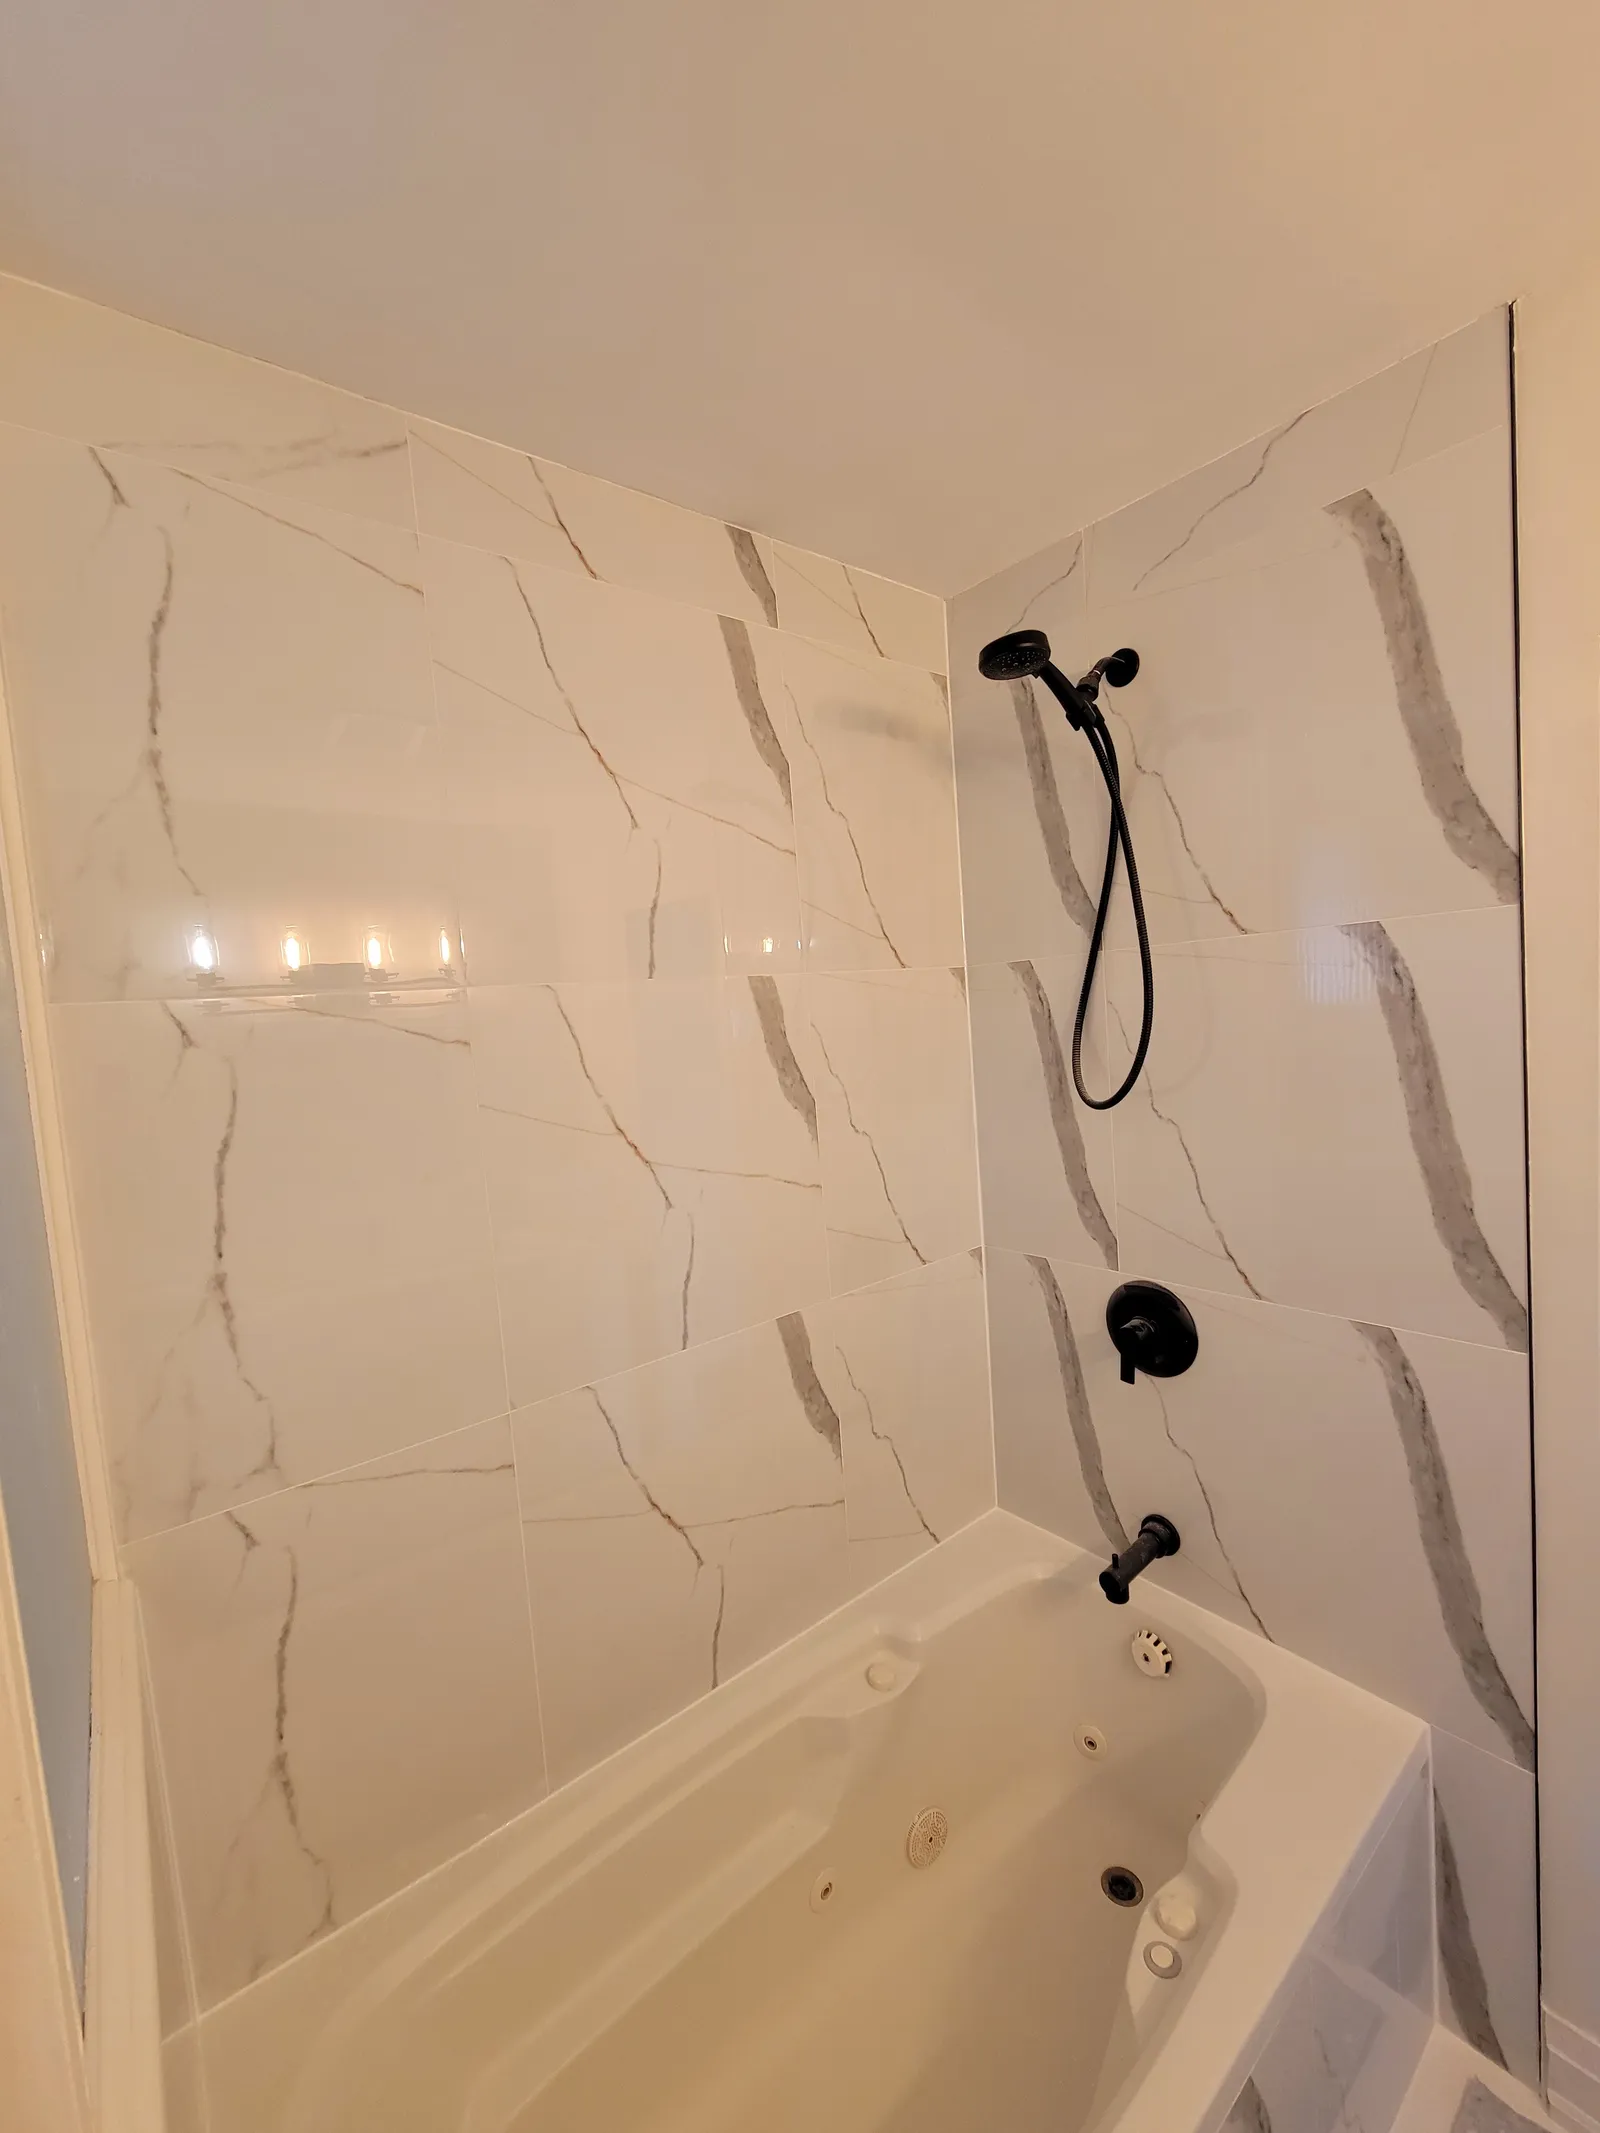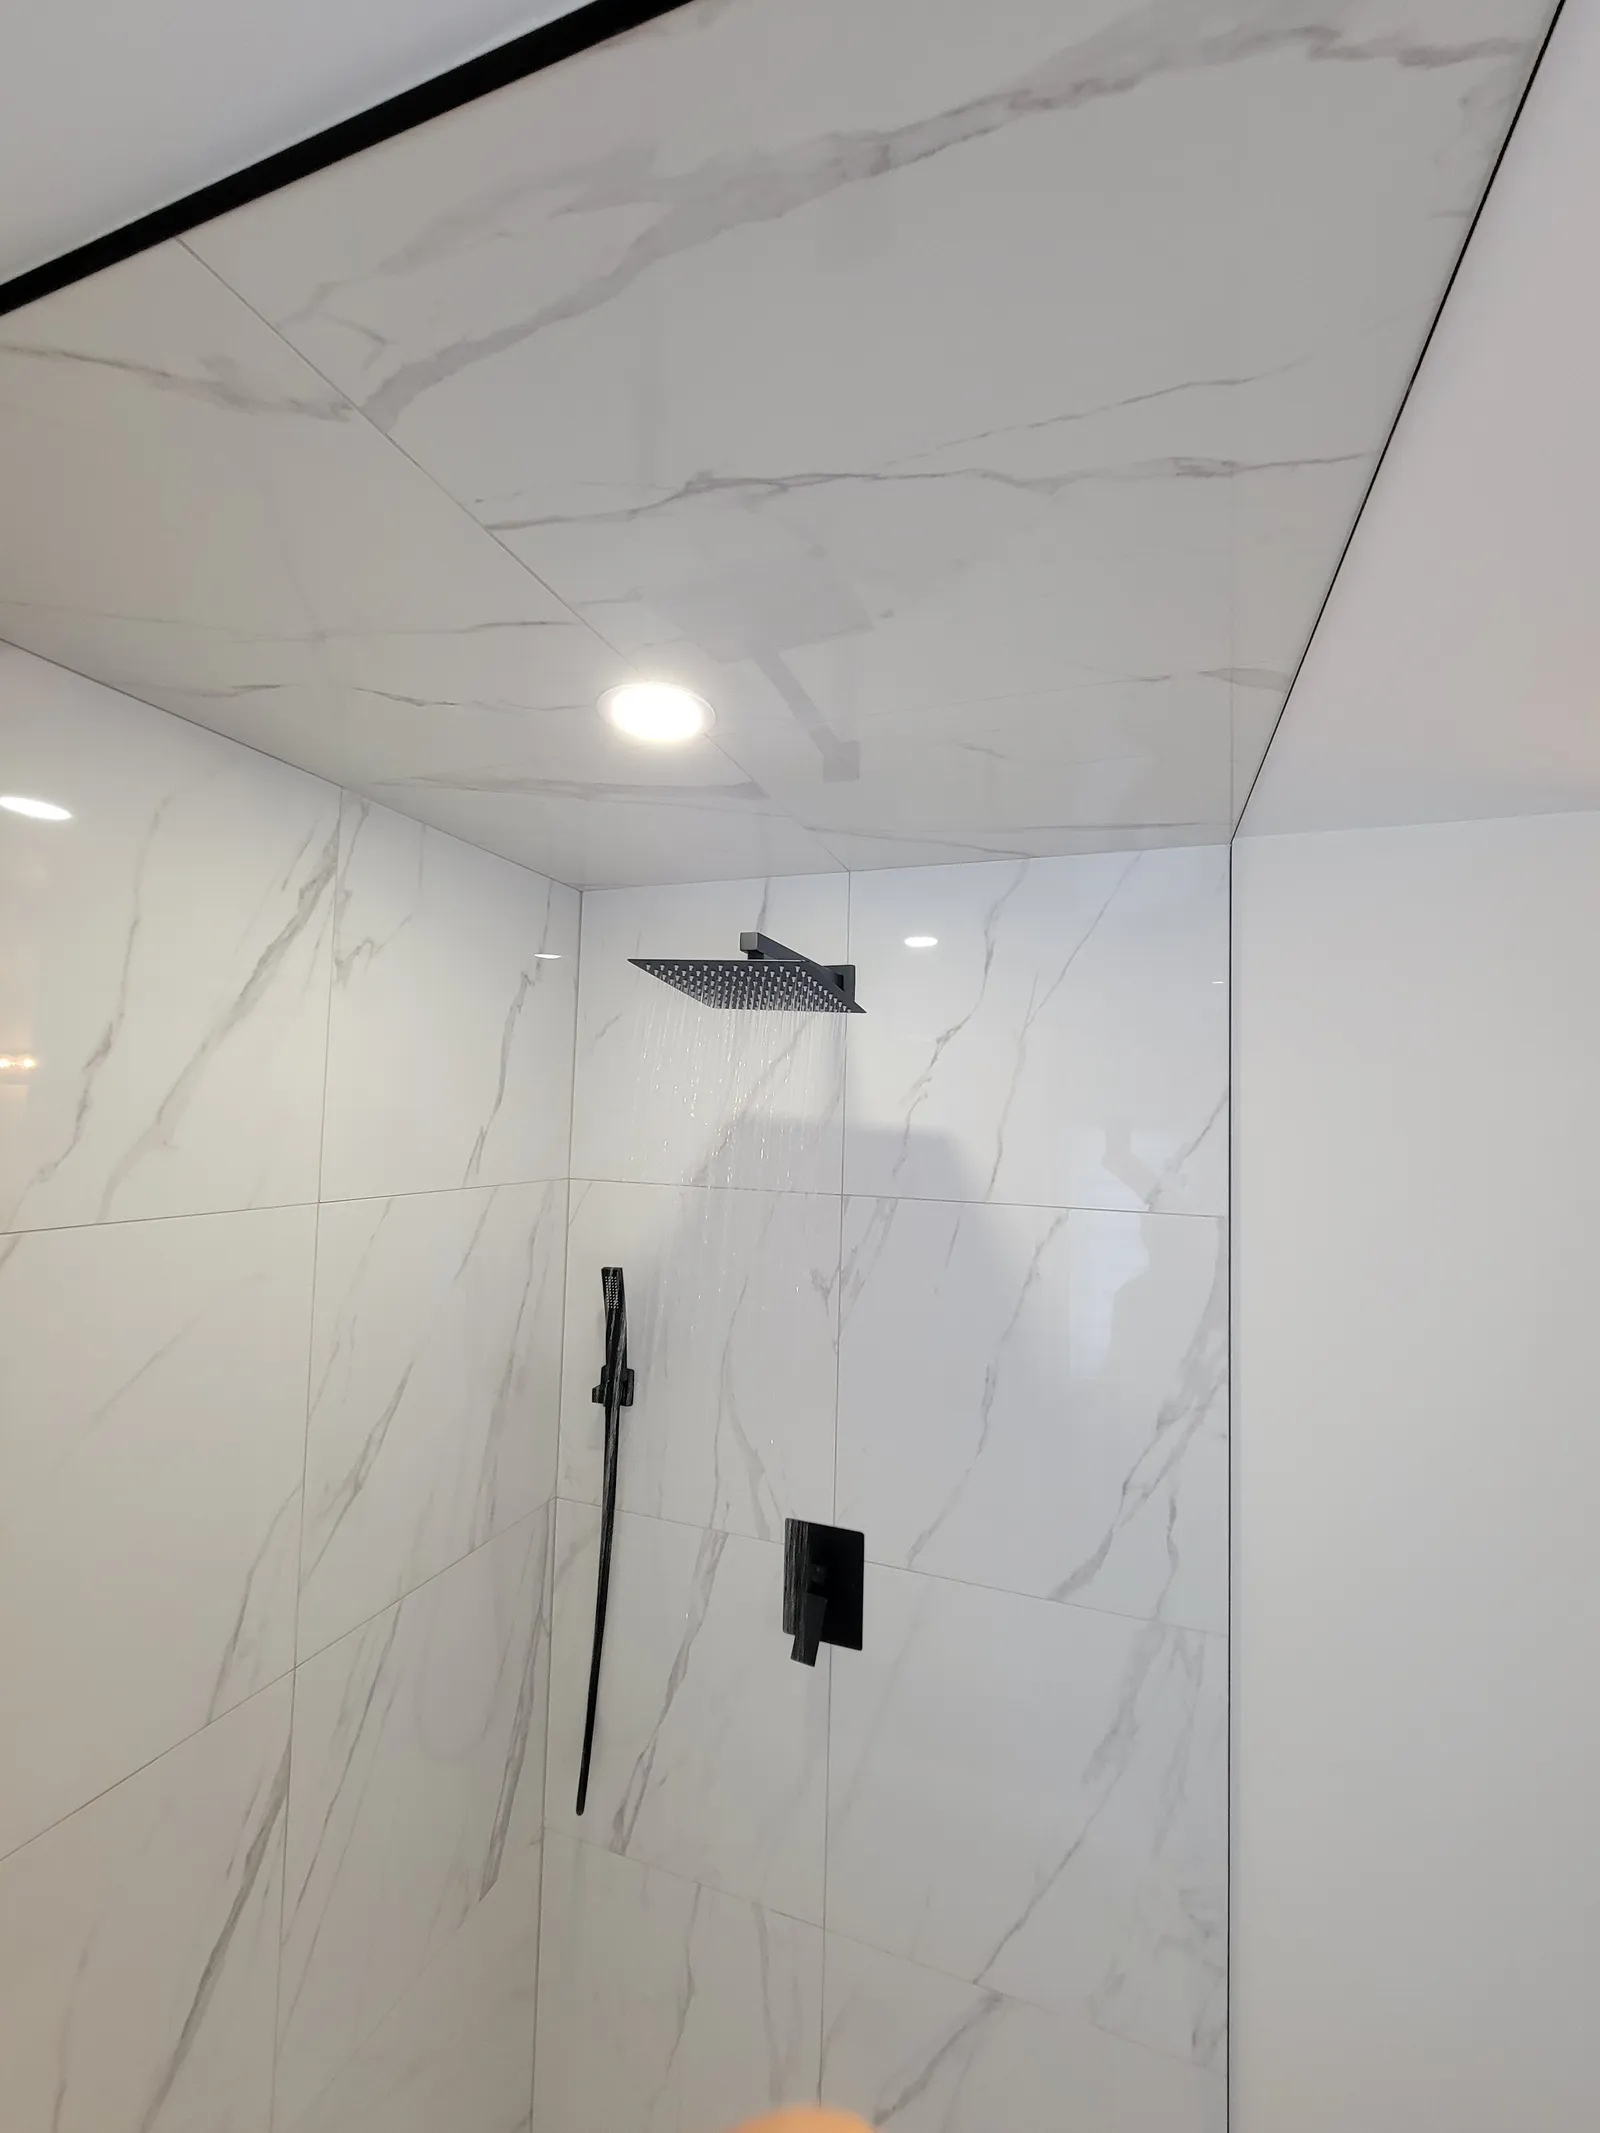
Completed project: a full master bathroom renovation in Aurora
When the homeowners in Aurora called us, their ensuite was the original builder bathroom — twenty years old and showing every one of them. A drop-in soaker tub nobody used, a cramped oval-sink vanity, beige wall tile, and a layout that wasted half the room. They didn't want a refresh. They wanted the whole thing gone and rebuilt as a proper spa-style space with a big walk-in shower.
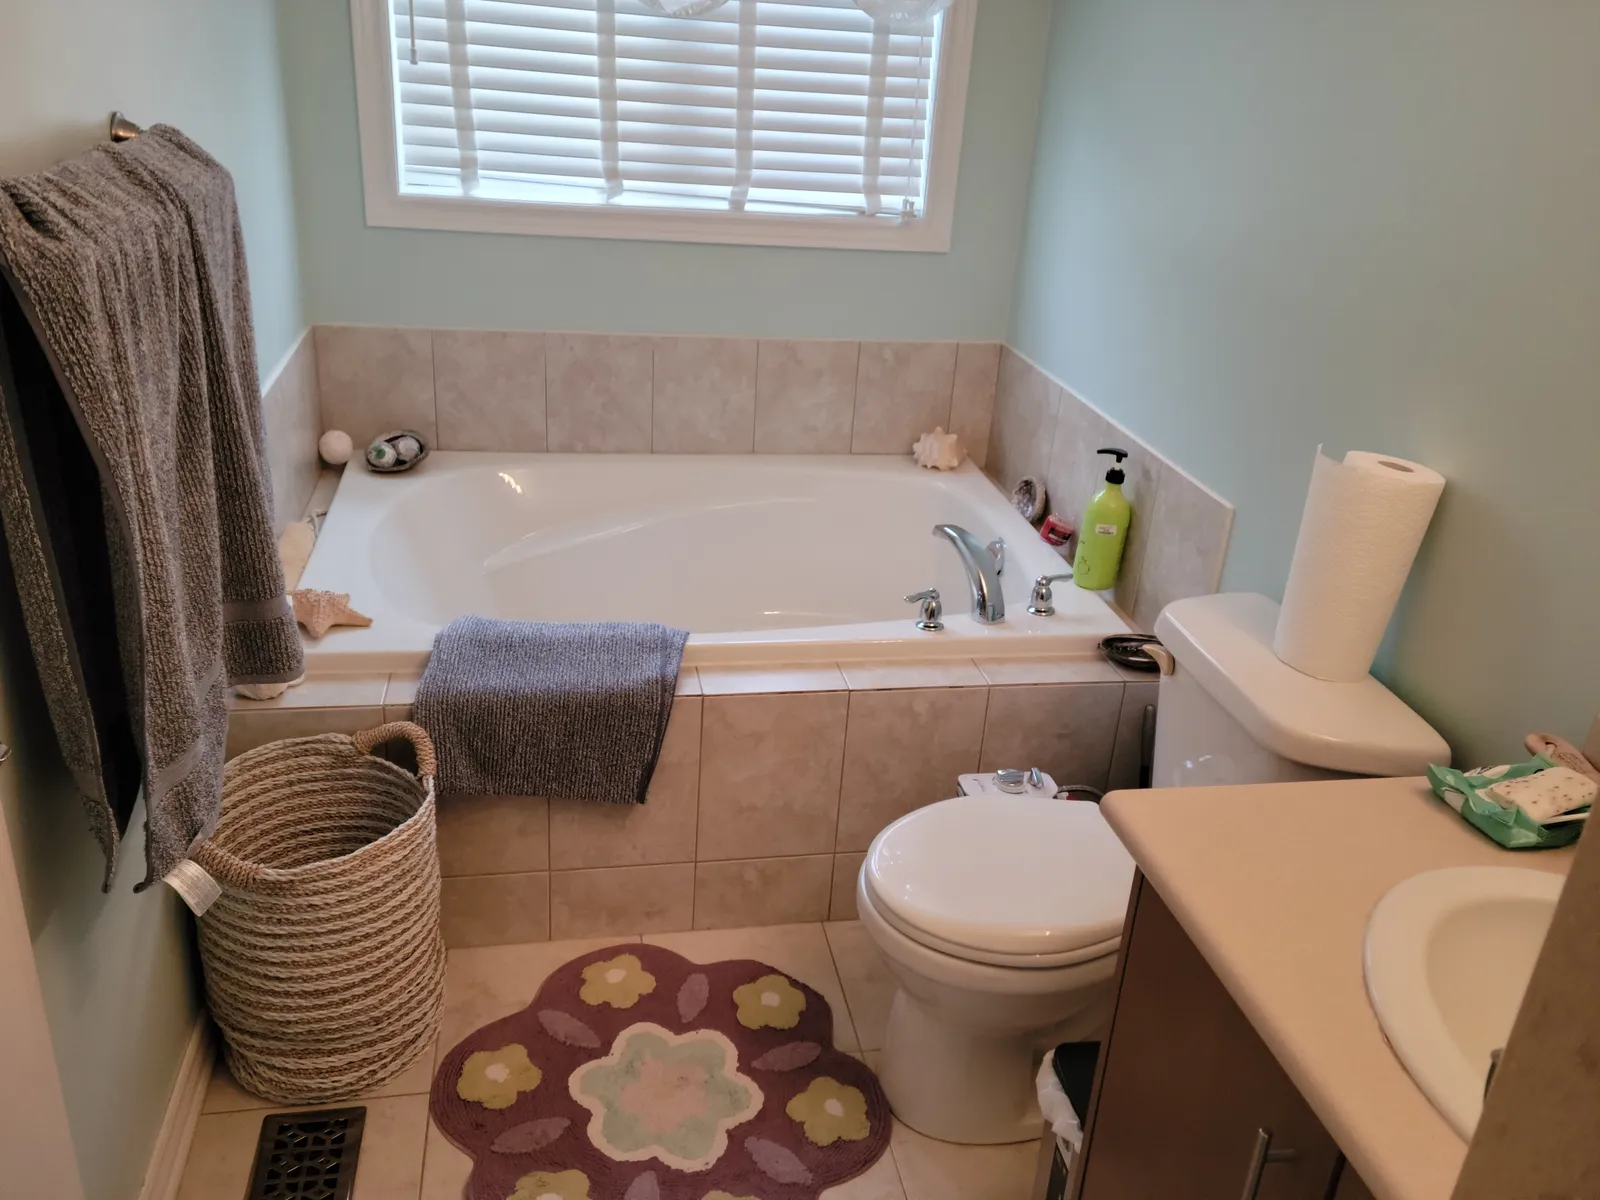
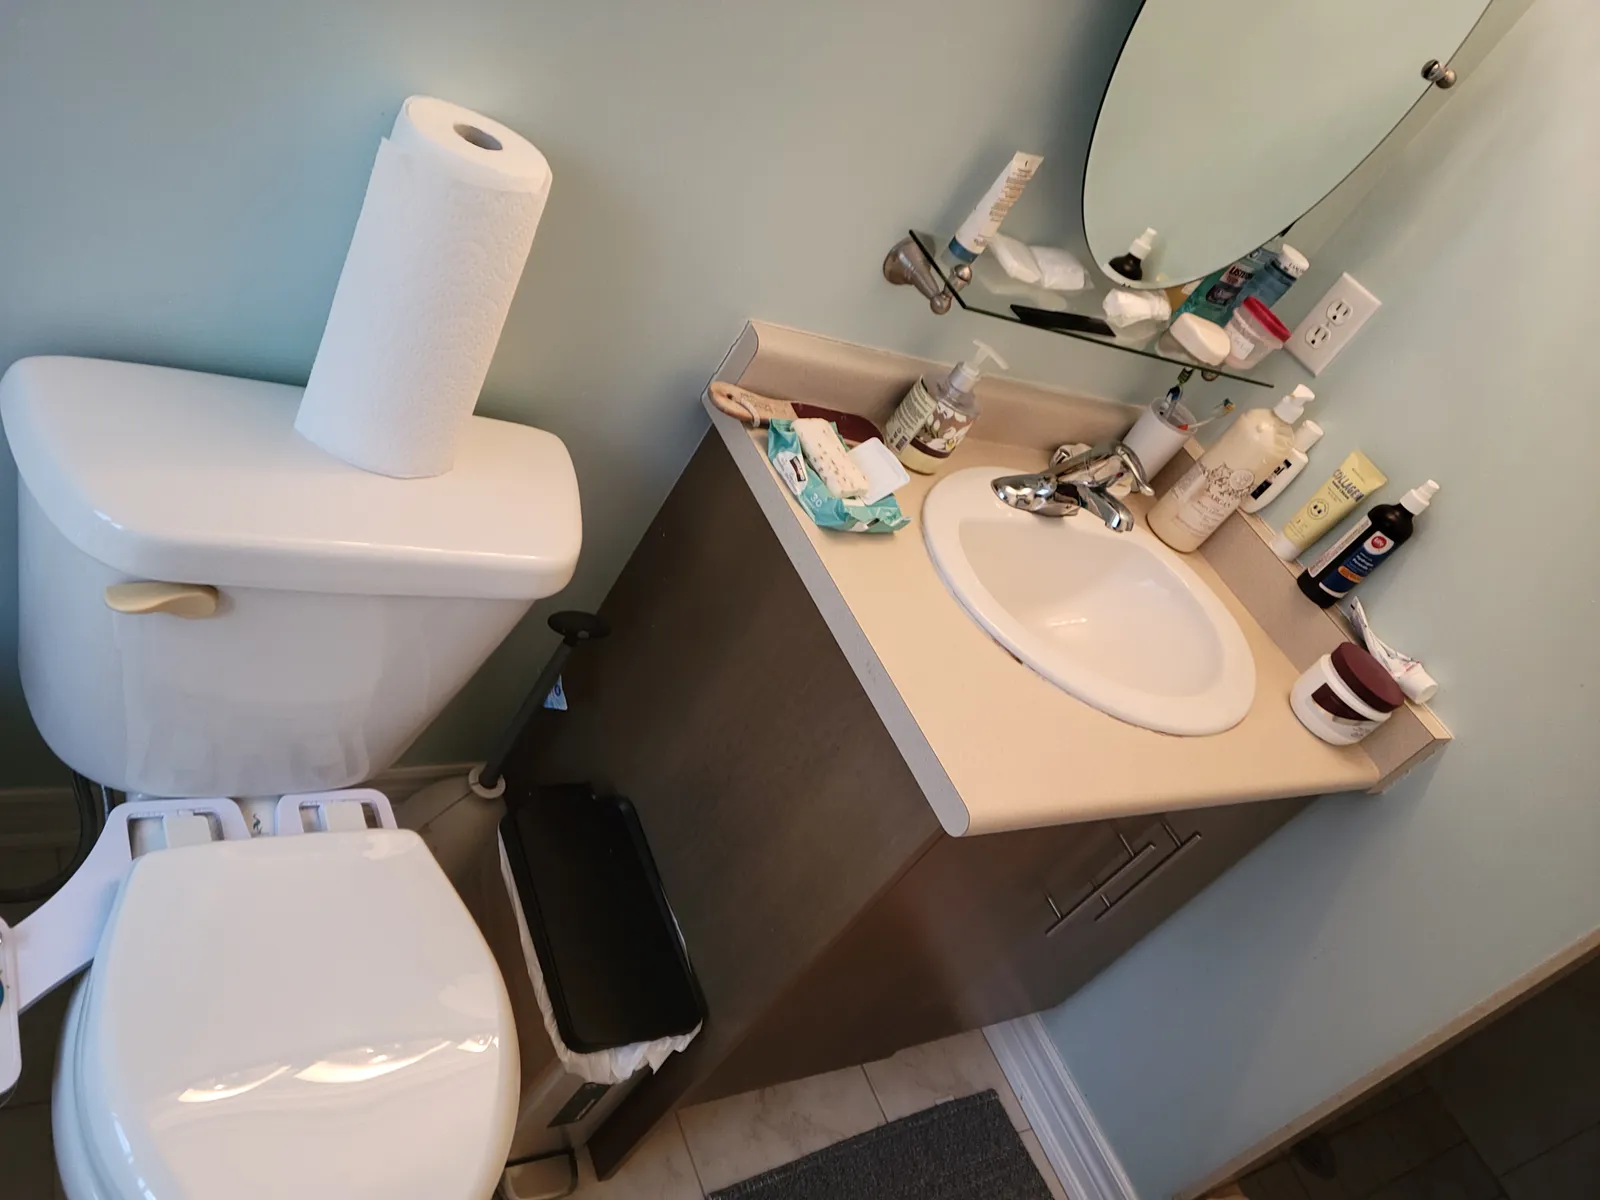
What the customer needed
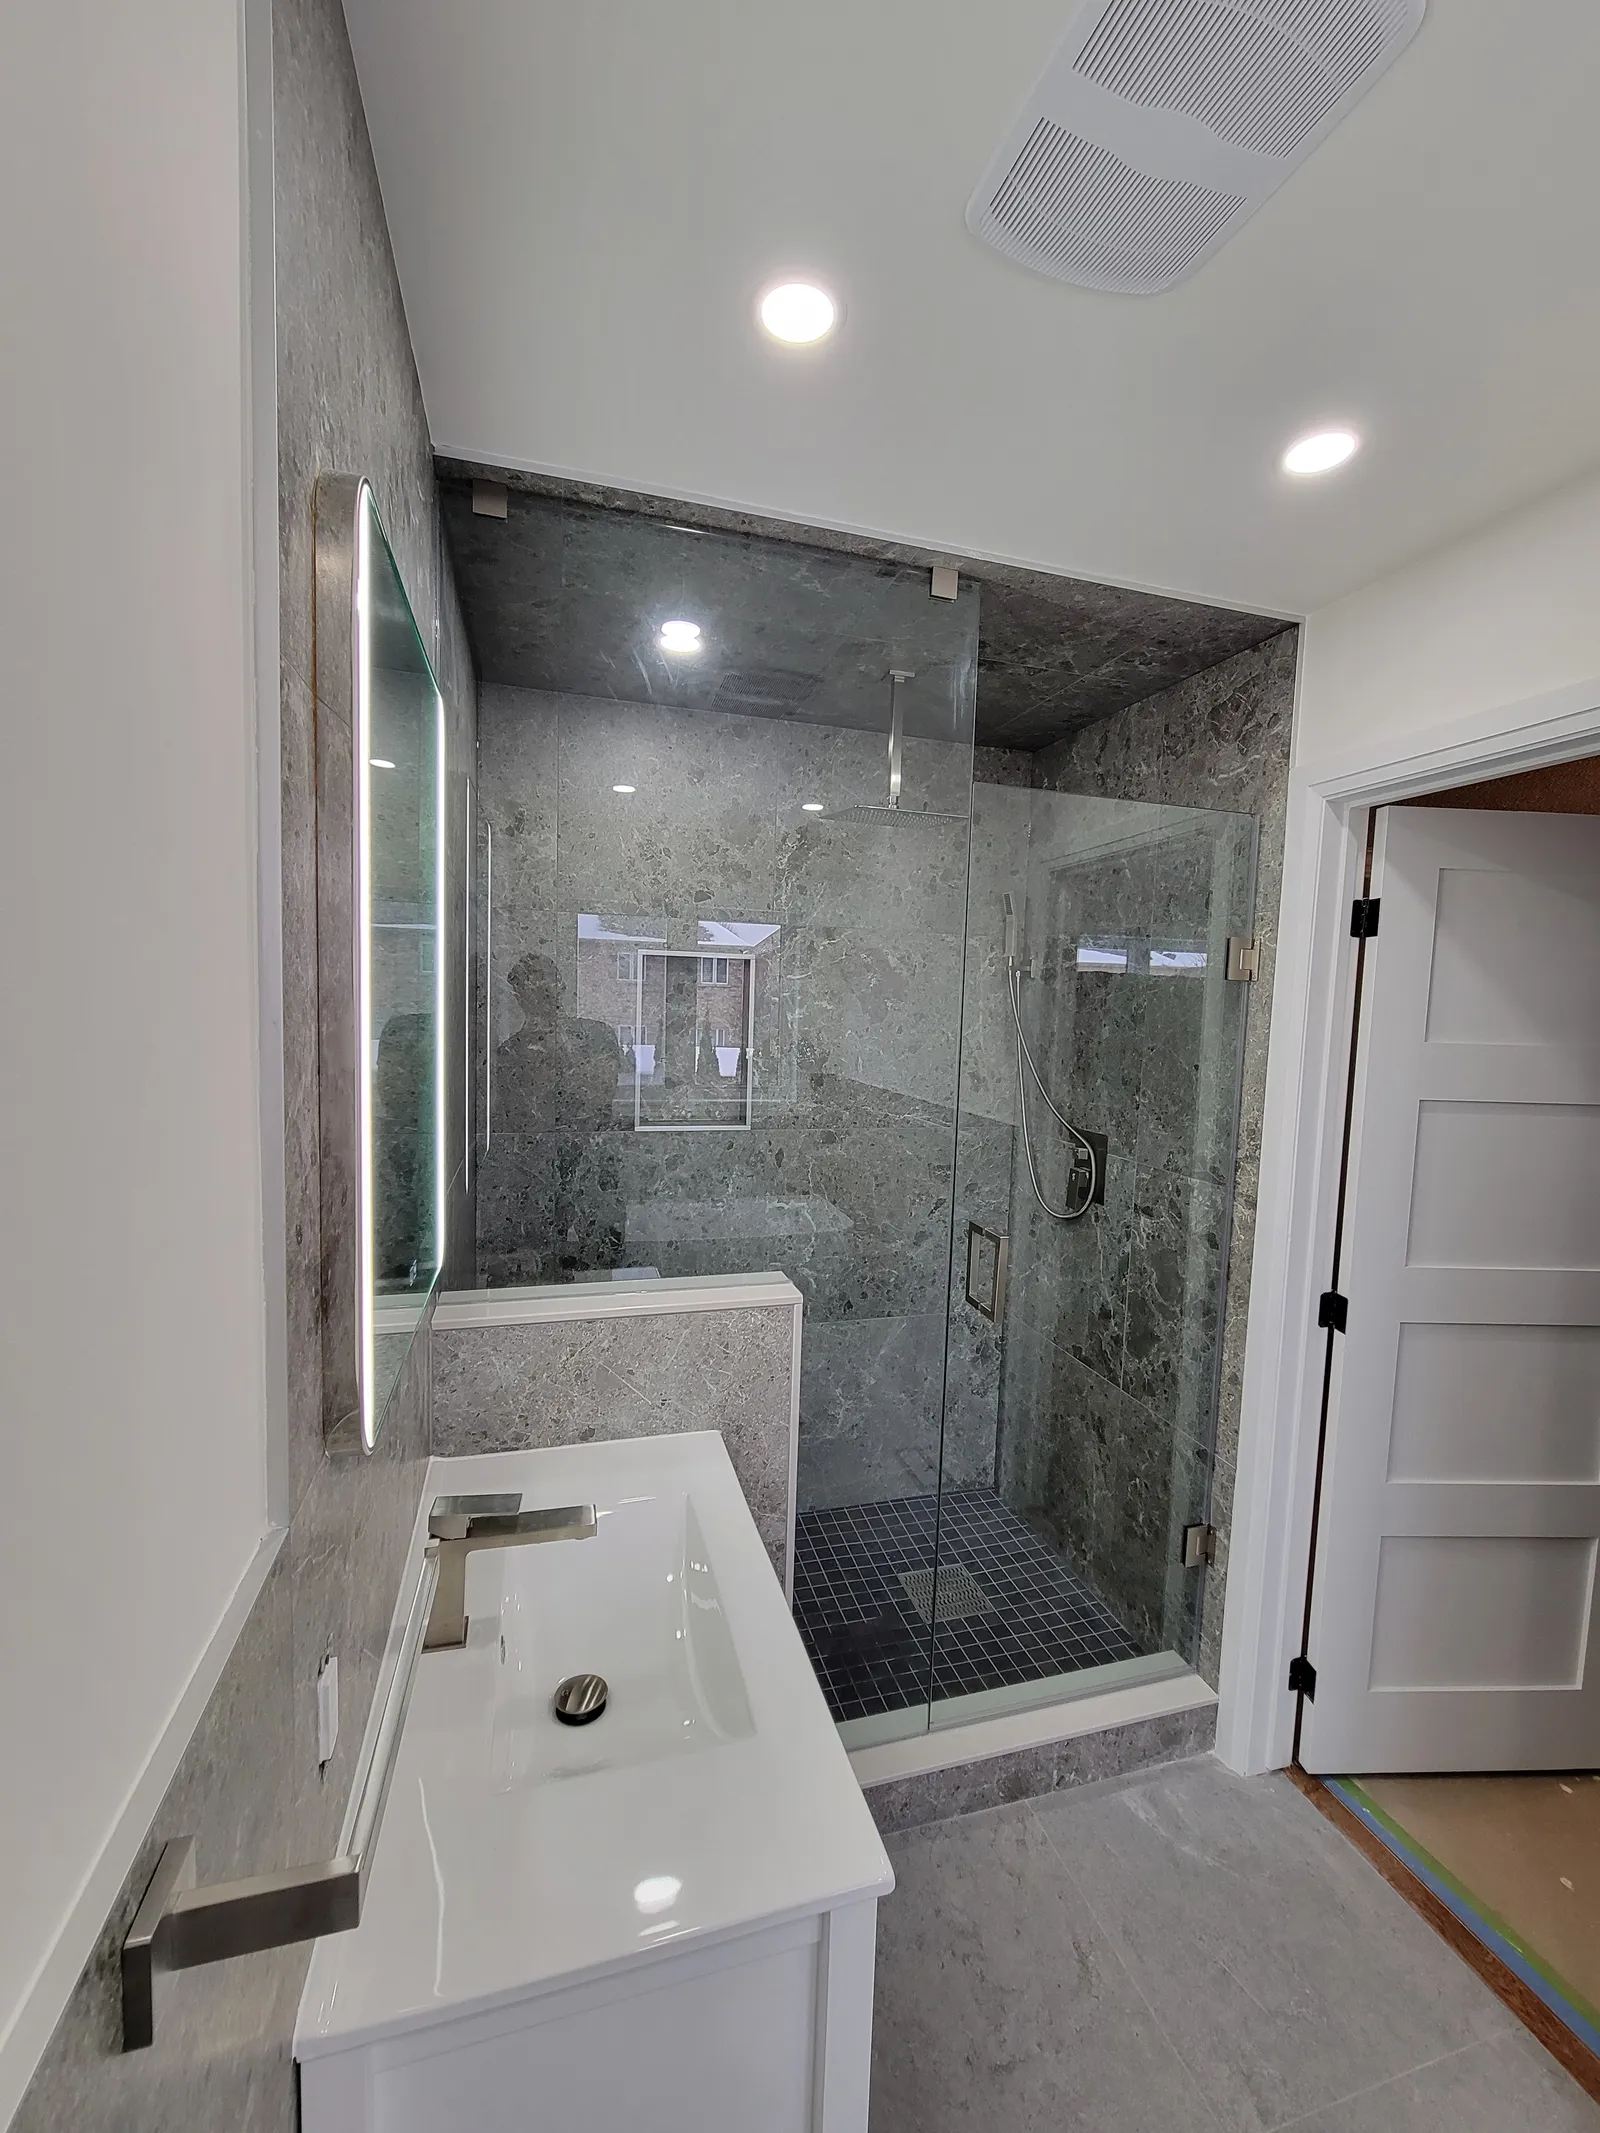
The brief was simple to say and a lot of work to deliver: remove the tub, build a large curbed shower in its place, run all-new plumbing, tile the room in a grey marble-look porcelain, and finish with a frameless glass enclosure, a floating vanity, and a backlit mirror. Because this is a primary bathroom, the family needed it watertight and built to last — not a flip-it-and-forget-it job.
Demolition and what we found
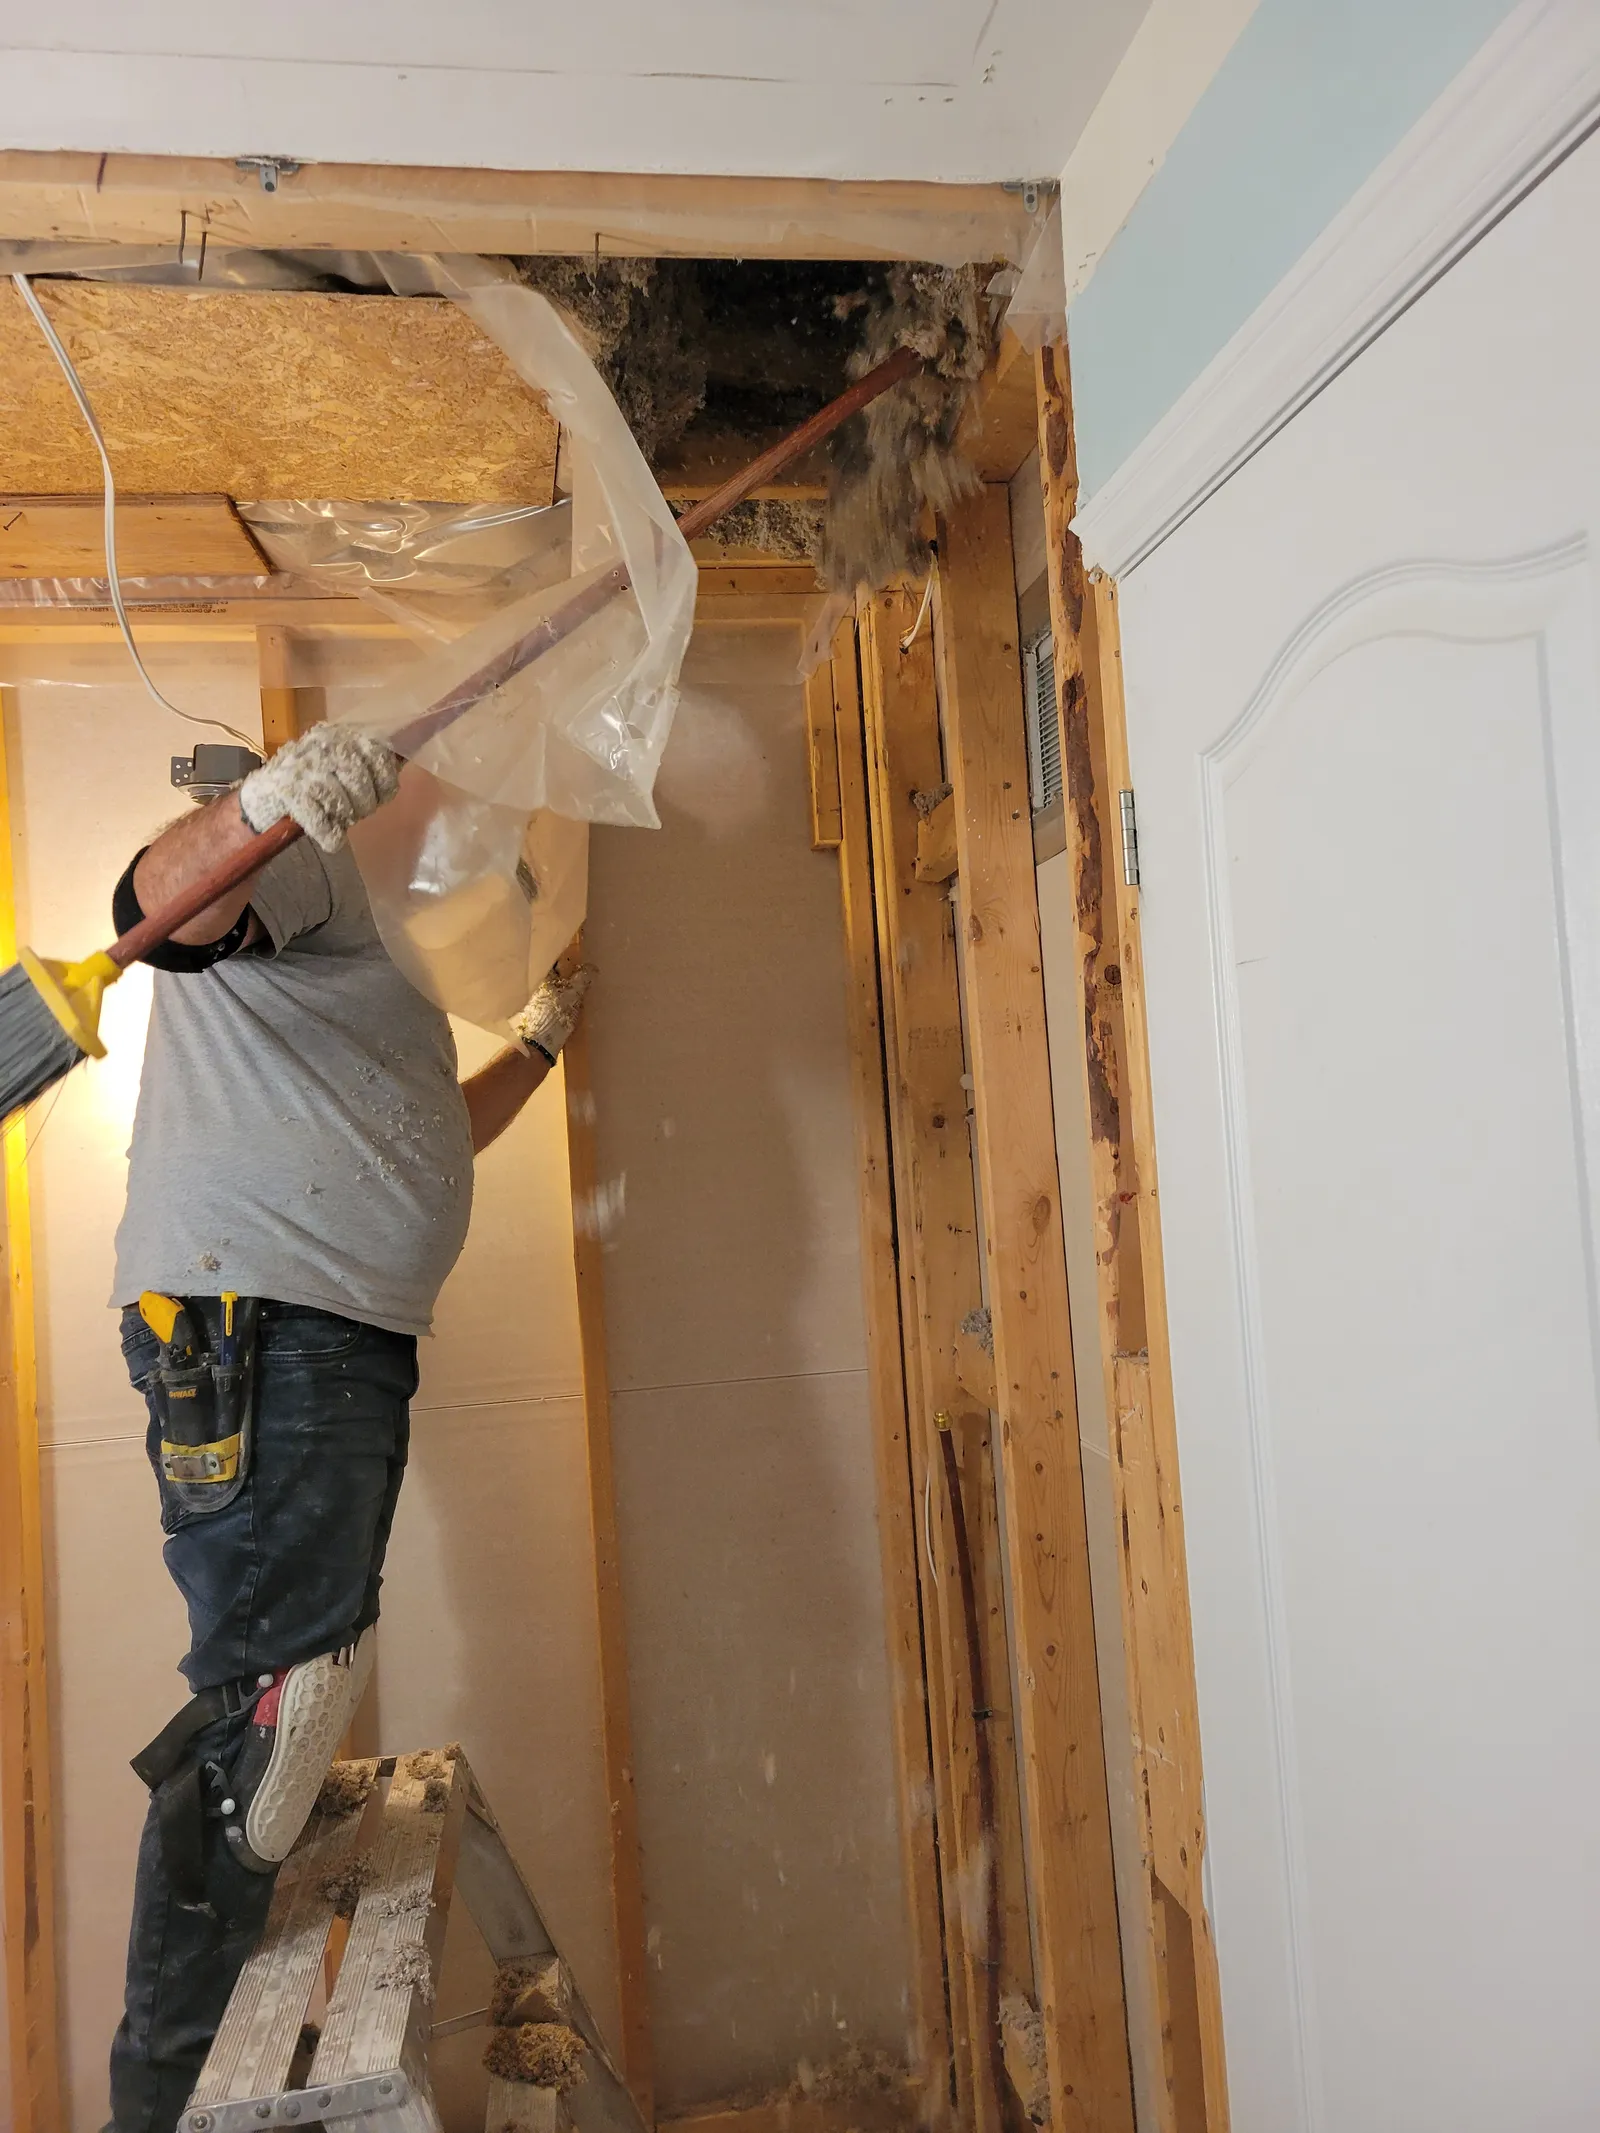
Every renovation has a moment where you learn what's really behind the walls. Once we pulled the tile and tub, we found the usual story in a house this age — tired framing around the old plumbing and some moisture staining up near the ceiling where the original fan had never vented properly. That's exactly why we take a bathroom back to the studs instead of tiling over the old surface: you can correct the things that caused problems the first time around.
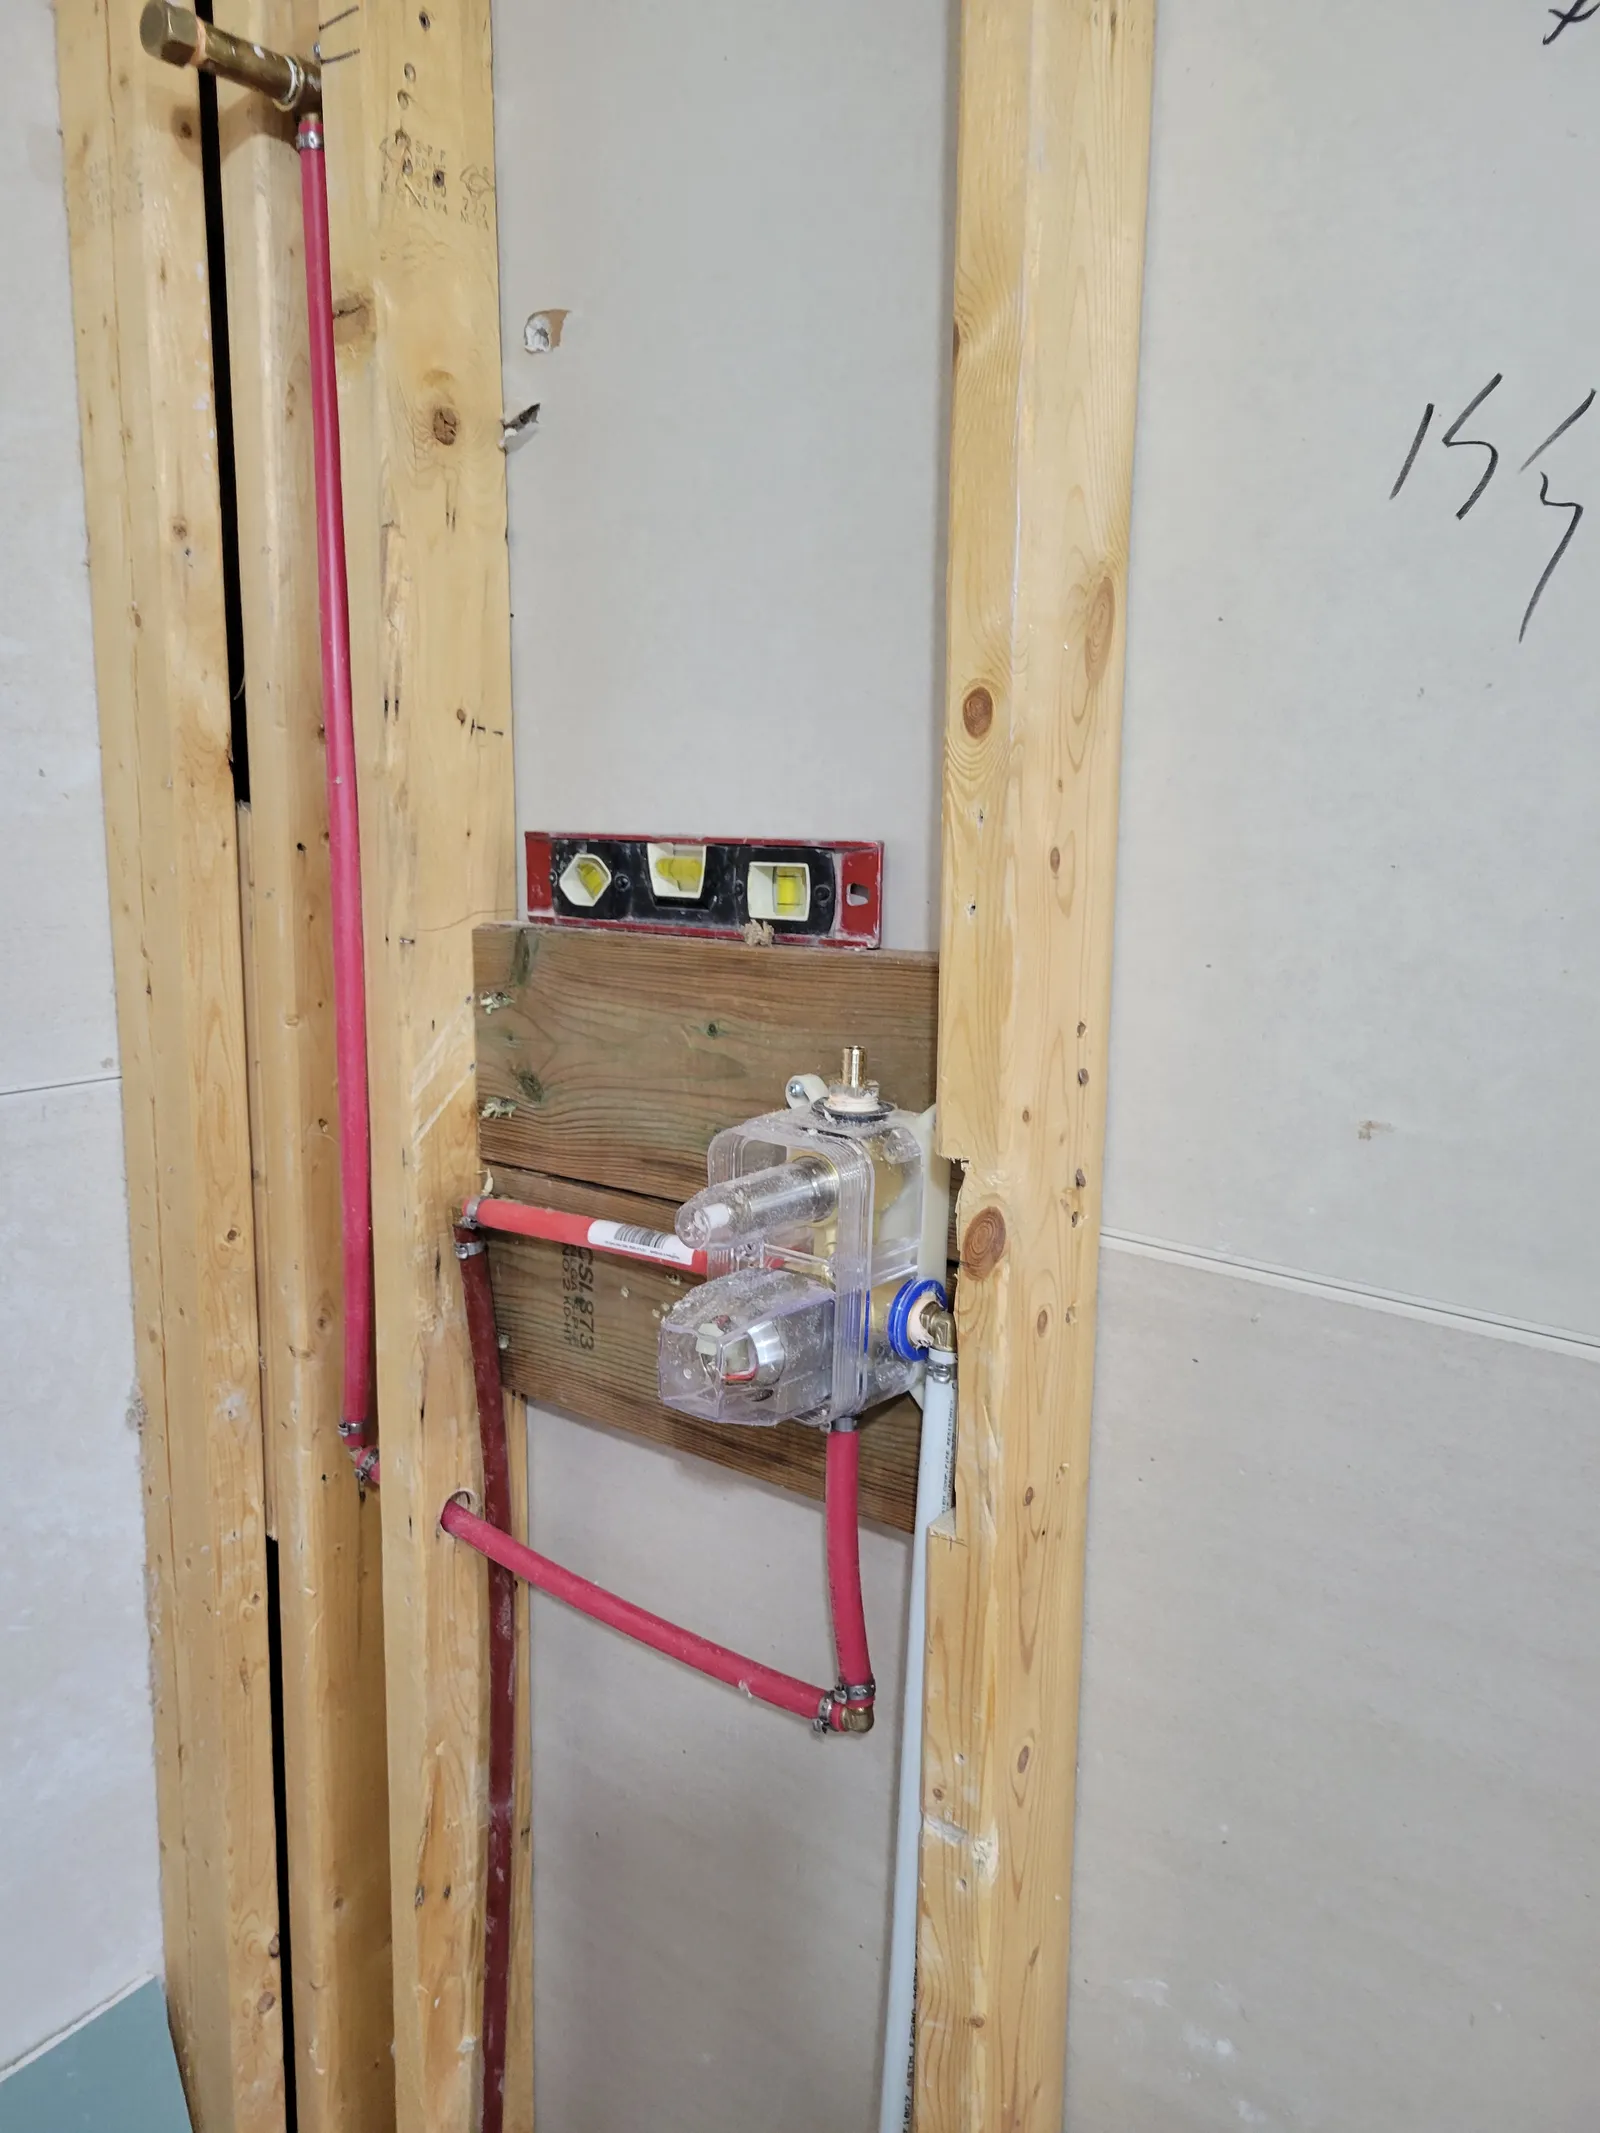
Plumbing and the shower rough-in
With the room opened up, we re-framed the shower wall and ran new PEX supply lines to a pressure-balanced shower valve — the kind that keeps the water from going cold-then-scalding when someone runs a tap elsewhere in the house. We set the valve and the shower head at the right heights for the family, blocked solid backing behind the niche and the future glass panel, and pressure-tested everything before a single tile went up. Plumbing is the part you never see once it's finished, so it's the part we refuse to rush.
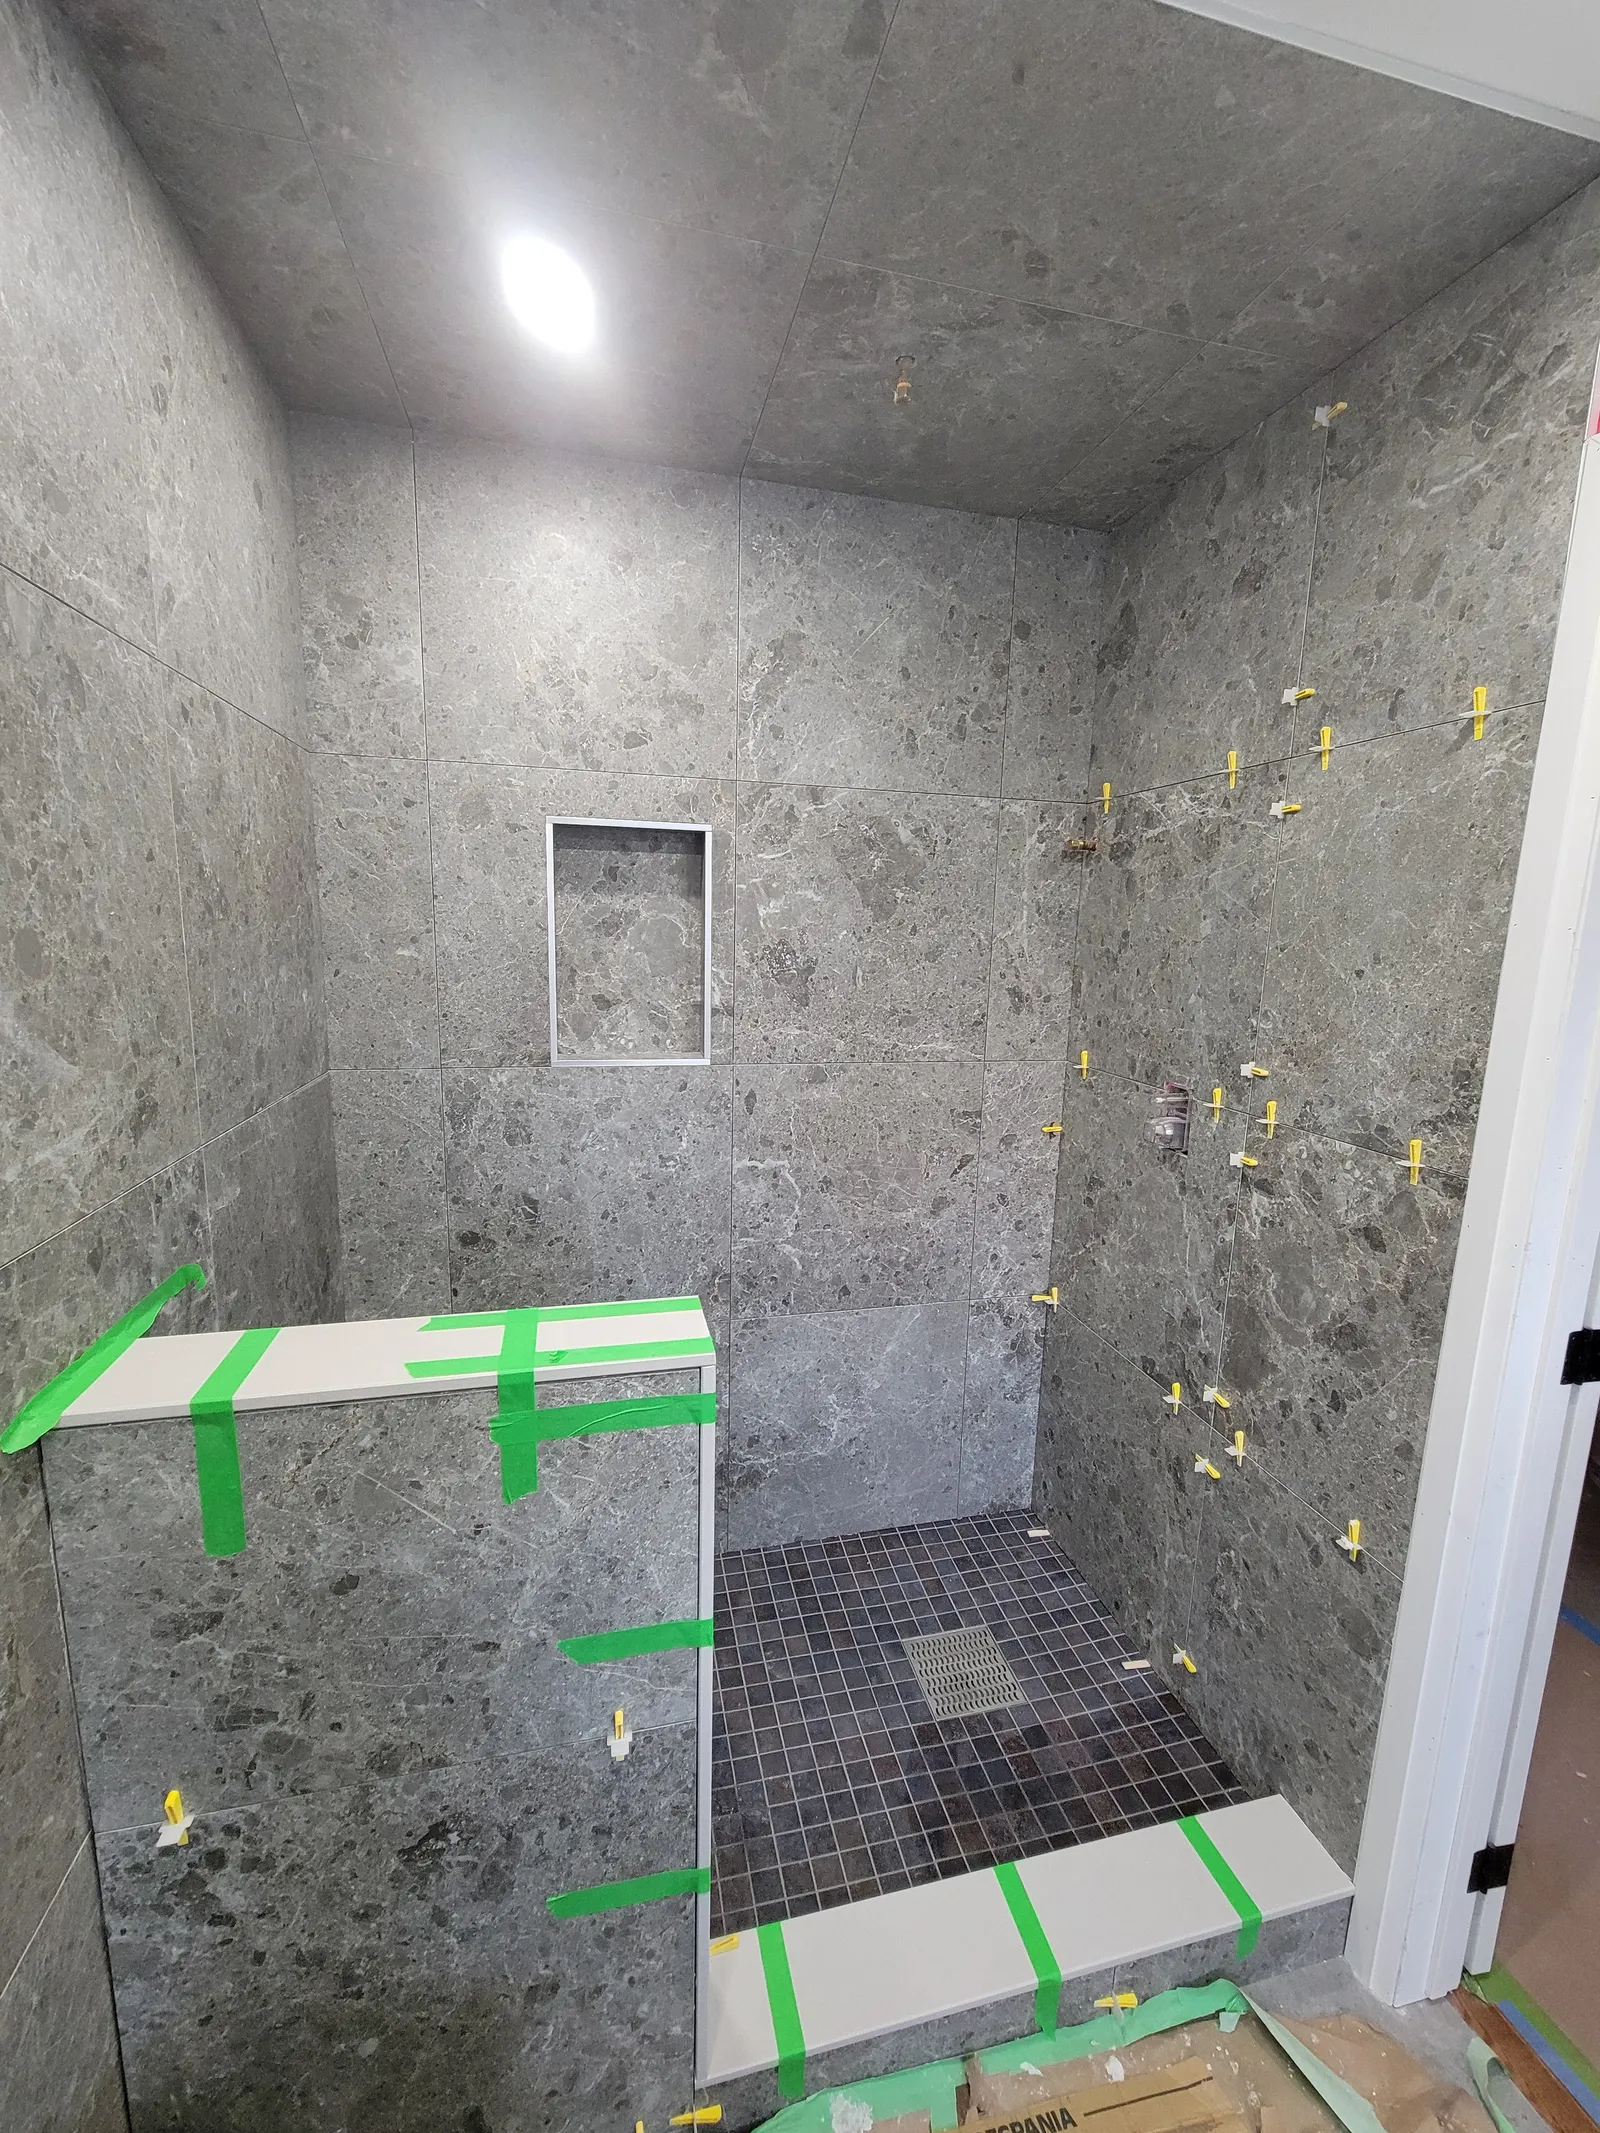
Waterproofing and tile
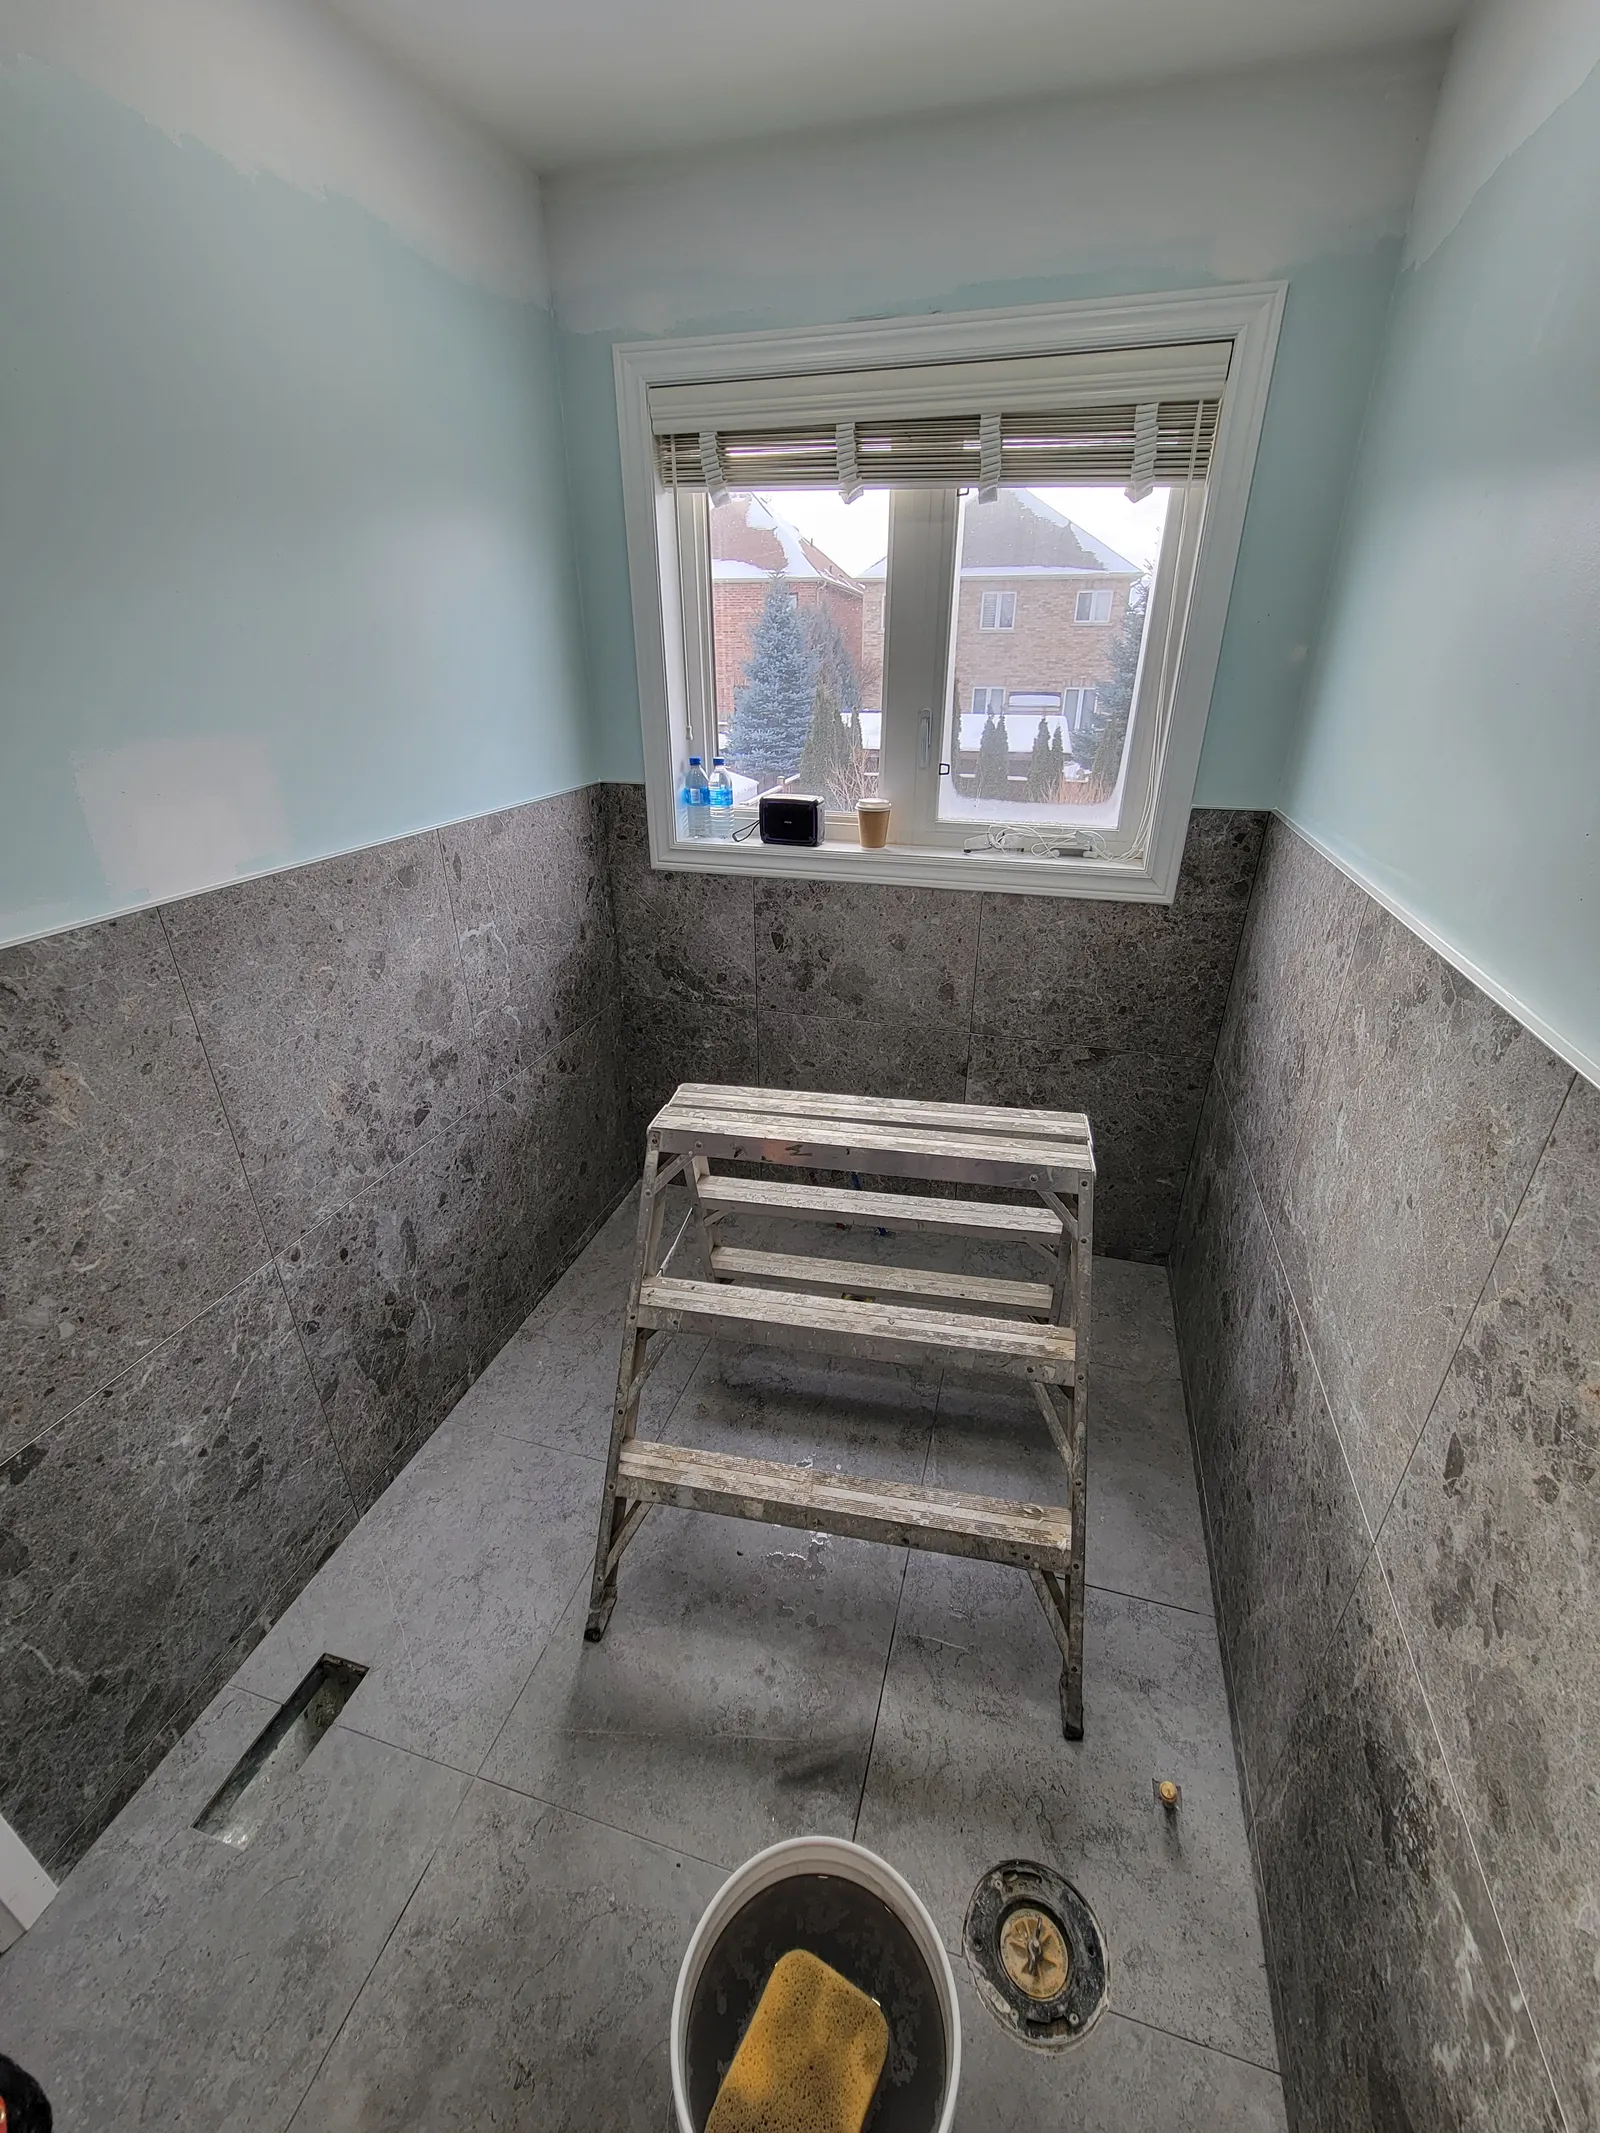
This is where a shower is made or broken. Every surface that gets wet was waterproofed with a membrane before tiling — the walls, the curb, the bench, and the sloped shower floor. We built a recessed niche for bottles, set a small-format mosaic on the shower floor for grip and drainage, and ran large-format grey porcelain up the walls. Large tiles mean fewer grout lines, which looks cleaner and gives water fewer places to sit. The whole room was laid out from a centreline so the cuts land symmetrically and full tiles fall where the eye goes first.
Fixtures and the finish
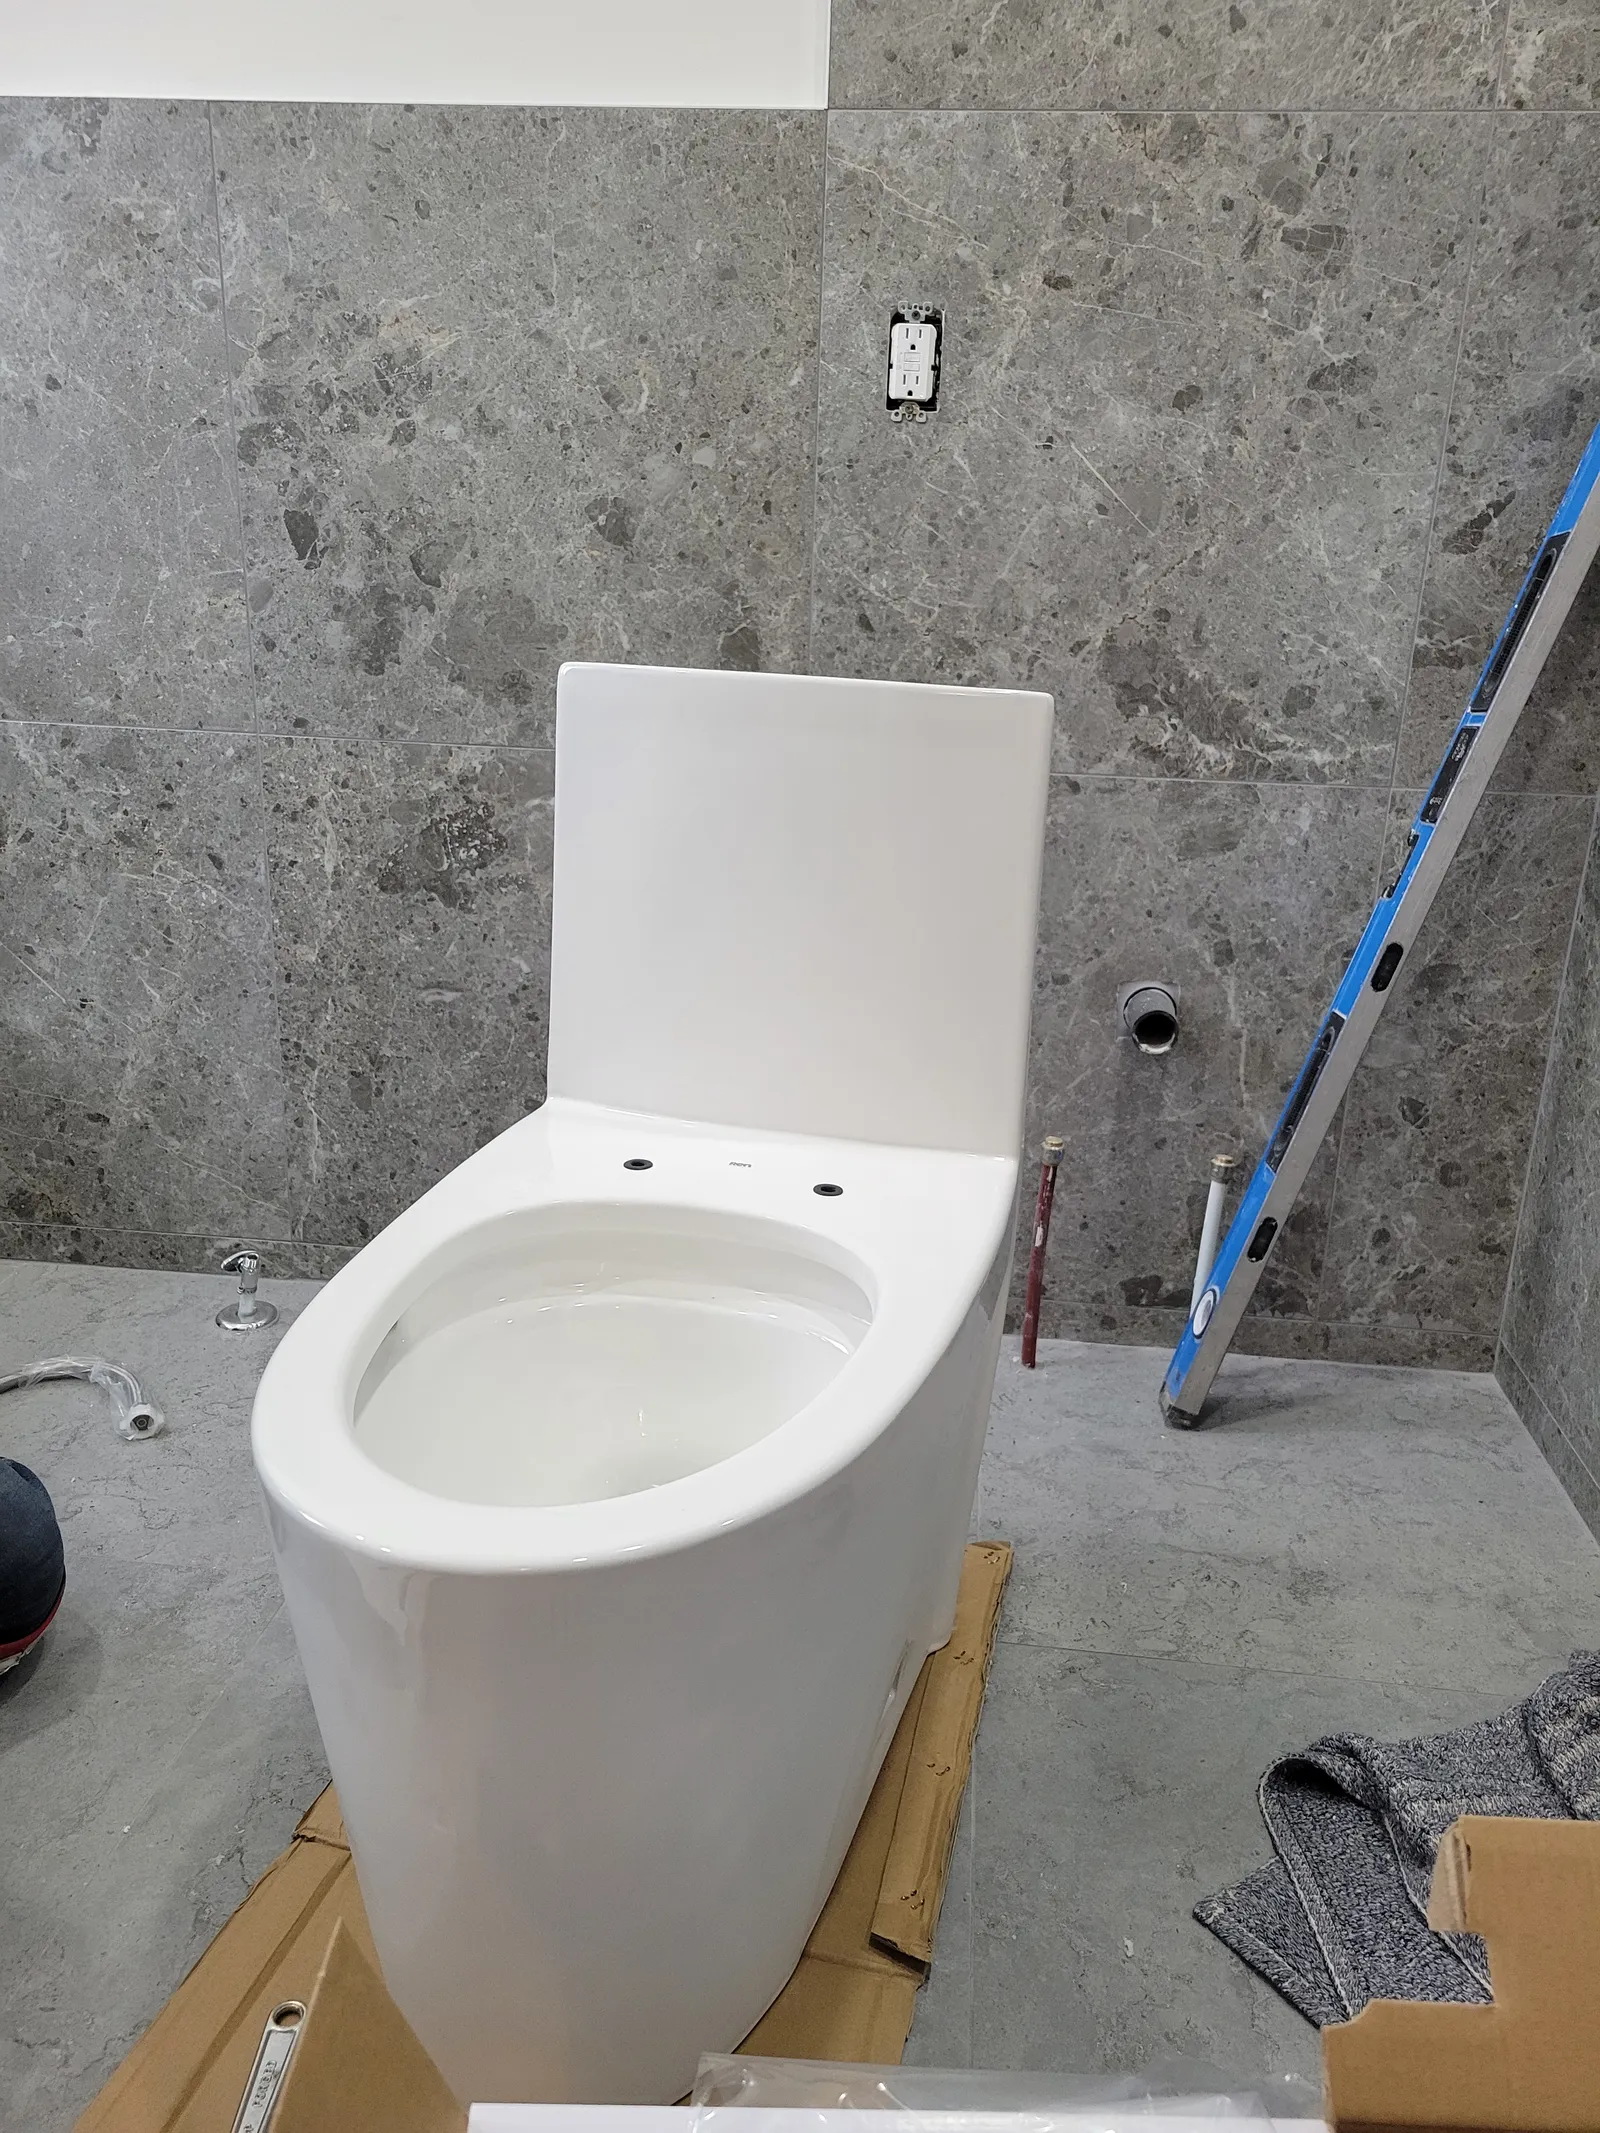
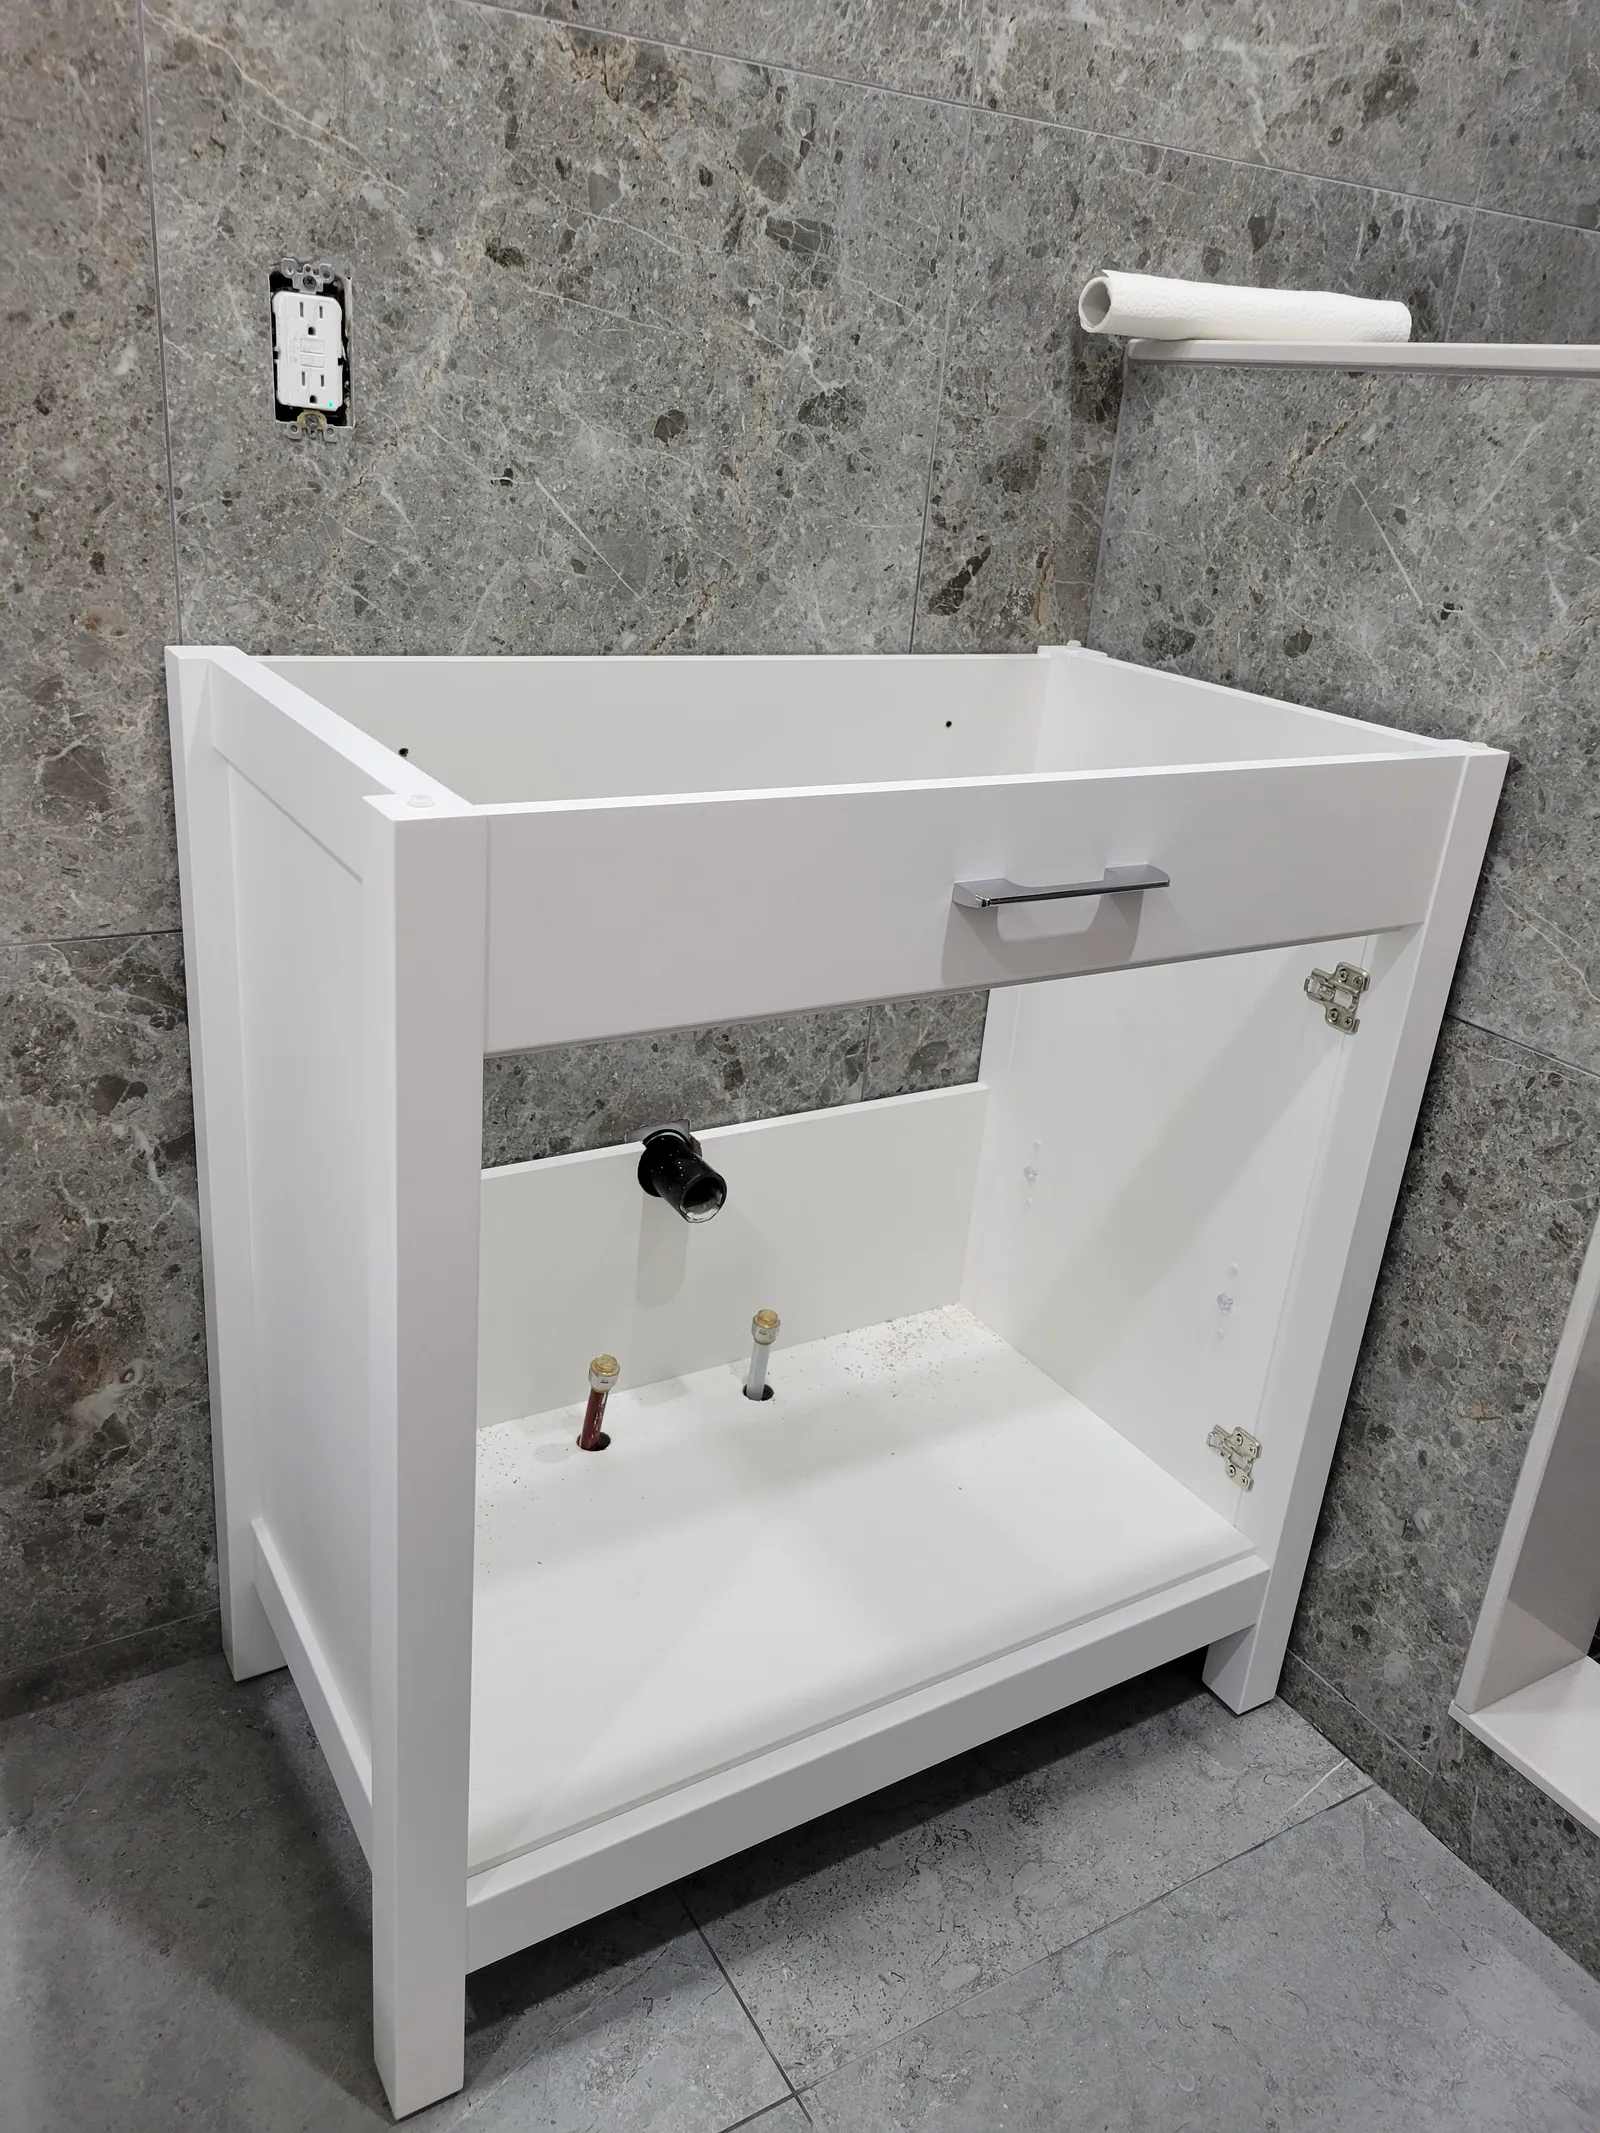
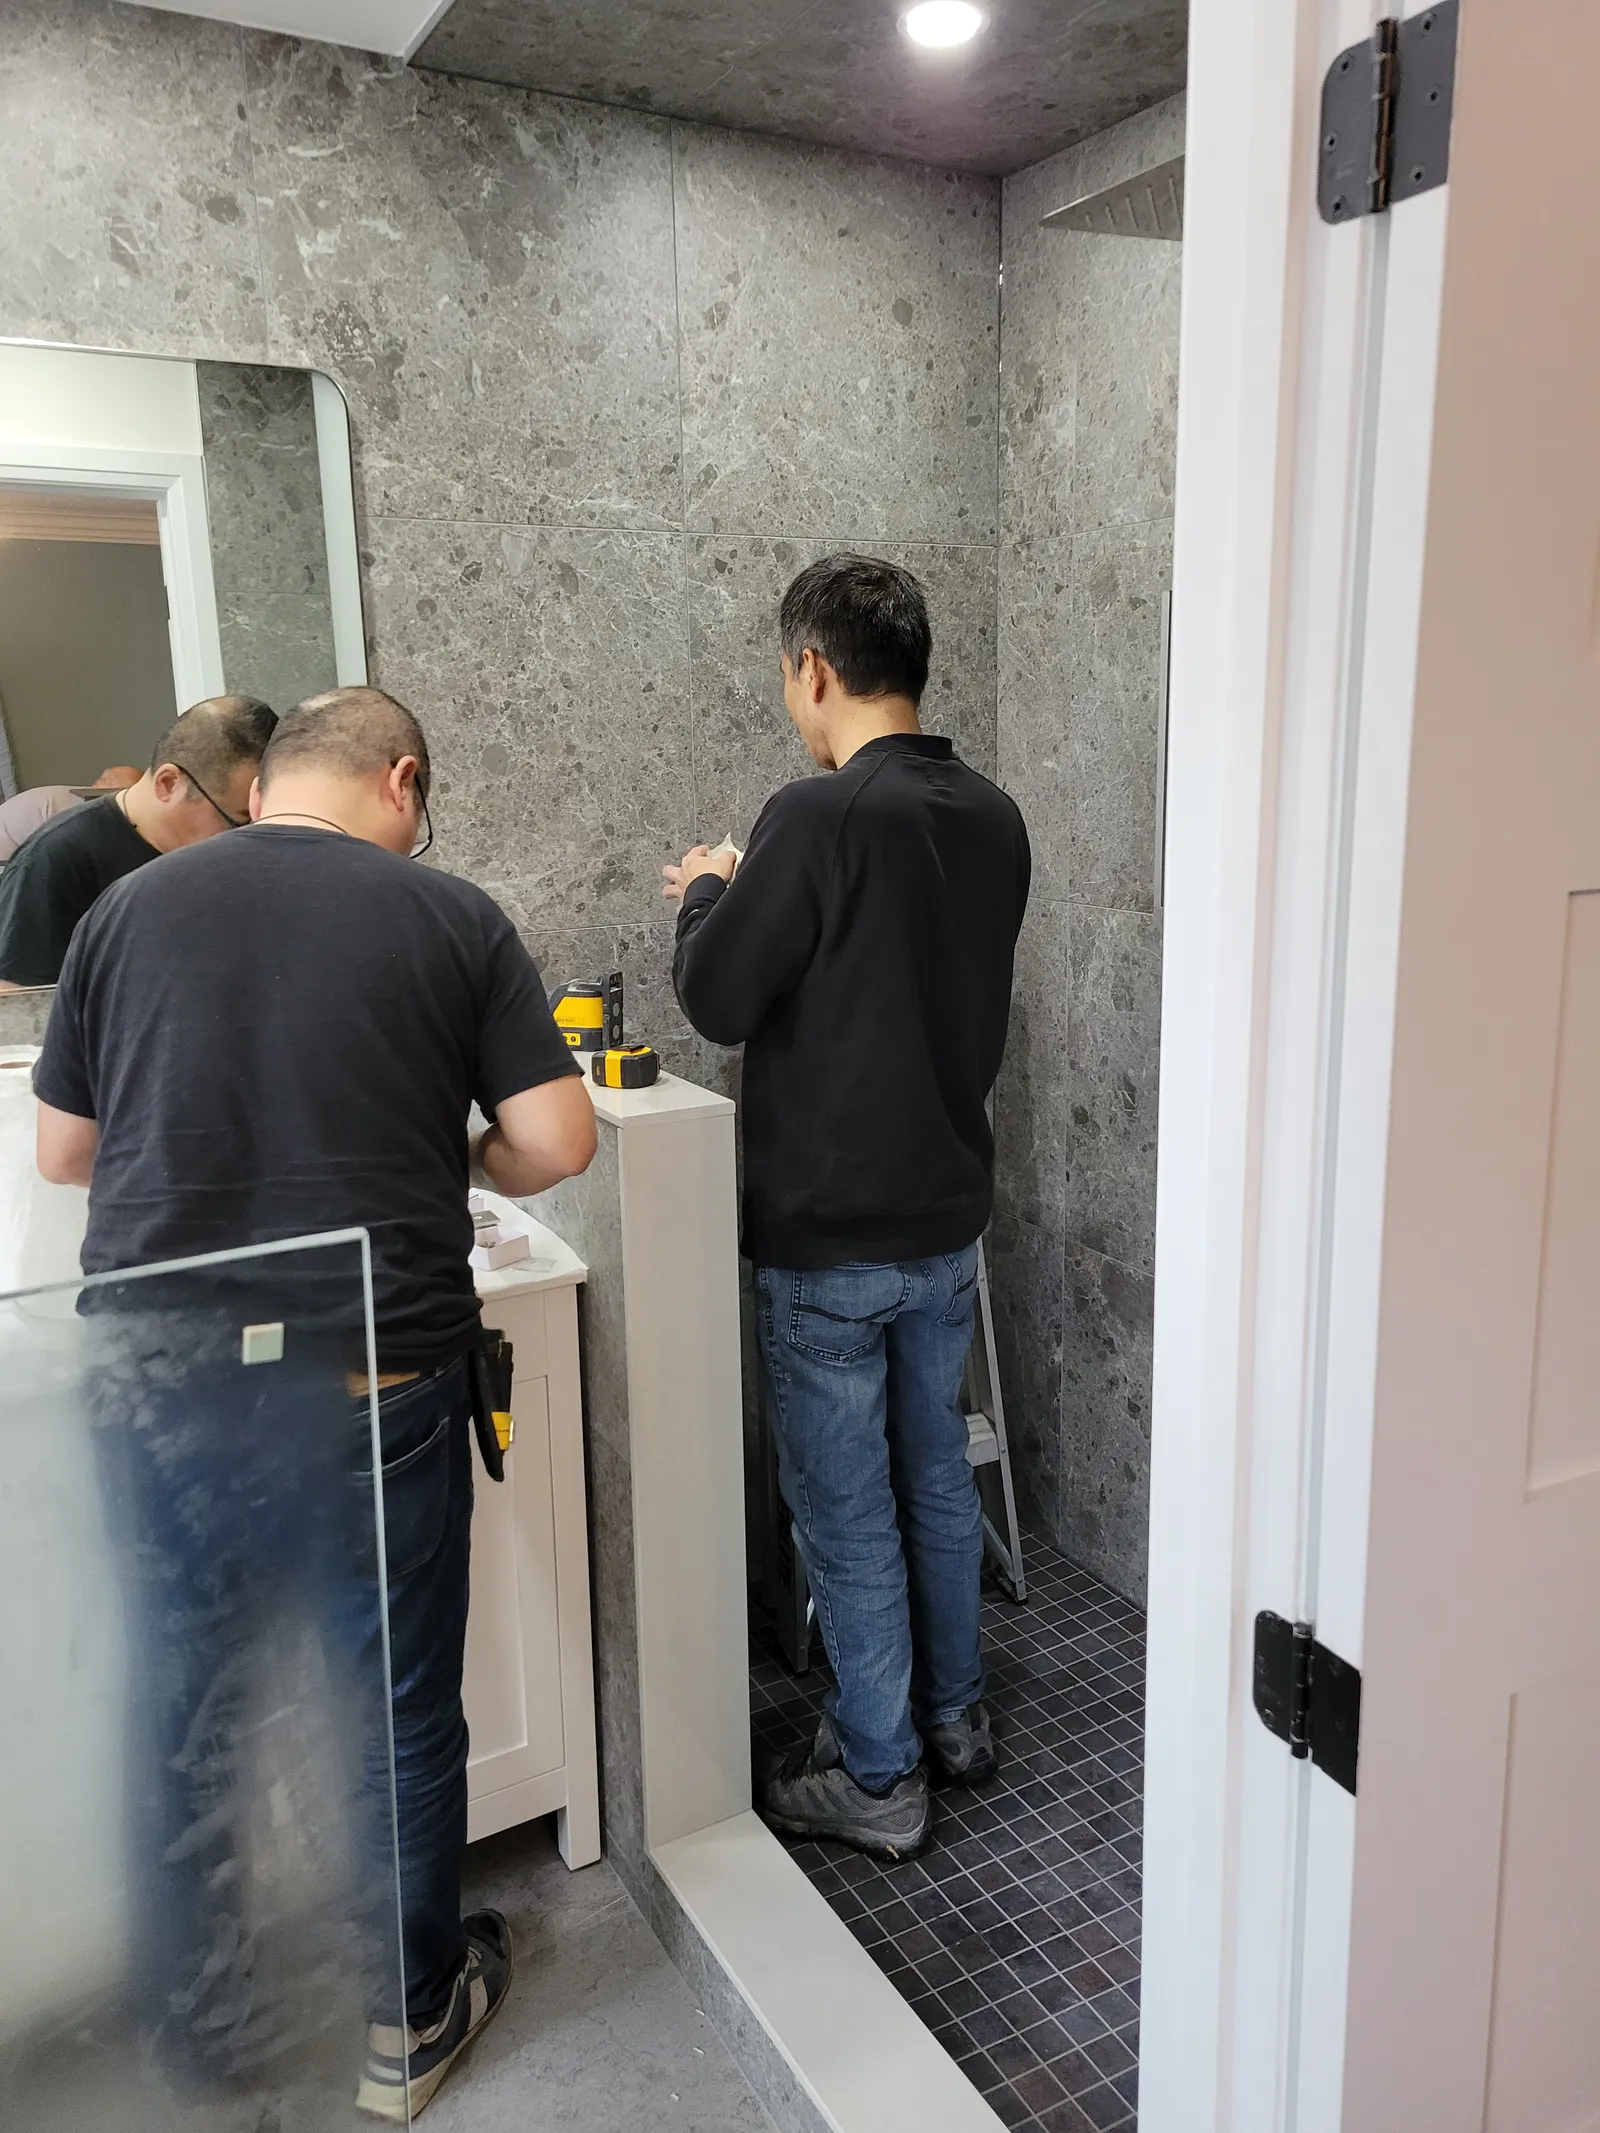
With the tile cured and grout sealed, the fun part begins. We set a one-piece skirted toilet (easier to clean, no awkward gap to trap dust), hung a floating shaker-style vanity with an integrated sink so the floor reads as one continuous surface, and wired in a backlit LED mirror and pot lights. Last came the frameless glass enclosure — measured on site after tiling, because glass is unforgiving and the walls are never perfectly plumb in a real house. We dial the panels in, silicone the joints, and leave the cure time alone.
The result
The room that used to waste space on an unused tub now reads twice as big. A frameless glass shower, a floating vanity with a clean integrated basin, a backlit mirror, warm pot lighting, and a properly vented fan that will keep the moisture problem from ever coming back. It's the same footprint as the builder bathroom — it just finally works.
Why a bathroom is worth doing right
A bathroom is the one room in the house that combines water, electricity, and tile that's meant to last decades. Cut a corner on waterproofing and you won't see the bill for two or three years — when it shows up as a stain on the ceiling below. We handle full bathroom renovations end to end, so there's one team accountable for the plumbing, the tile, and the finish rather than three trades pointing at each other.
Keeping it looking new
- Run the exhaust fan during every shower and for 20 minutes after — it's the single best thing you can do for a bathroom.
- Squeegee the glass after showers to keep hard-water spots from etching in.
- Reseal grout once a year and check the silicone joints; when the caulk looks tired, have it redone before water gets behind it.
- Wipe the vanity and fixtures with a soft cloth — avoid abrasive or bleach-heavy cleaners on tile and glass.
Thinking about your own bathroom? We also handle the smaller jobs that keep one in good shape — fresh caulking, toilet replacements, and faucet swaps. Whatever the size, request a free estimate and we'll give you a clear, fixed price.
"Take a bathroom back to the studs and you only do it once. Tile over the old problems and you'll do it twice."
Need a hand with a project?
Book the VOL Handyman team for the work in this article — or anything else around your home or business.